Southurn Lurvin

Squab Final 
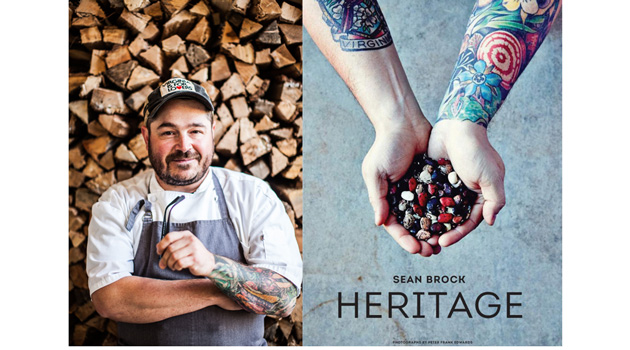
I am a typical American… I have failed to commit to my New Year’s resolutions!  One of which is to blog more.  Here I am one month in to 2015 with only one blog post.  Fail! Truth be told, blogging ain’t cheap… especially when you are cooking for a small crowd.  Often times I have to buy obscure ingredients which would be more cost effecient if I cooked for larger quantities.  So on that note, I have floated the idea of starting a Sunday Night Supper Club.  With the football season ending, the spring approaching with its’ bountiful produce, and the lack of Sunday evening plans most people have, I think it is the perfect time to get this going.  So please reach out if  you are interested in getting this going, or have friends that may have an interest.  For those that do not live in the DMV area, I’ll come cook anywhere… as long as my transportation is paid for :). To business now.  Since my passion for food has grown, I have naturally been drawn towards books, articles, shows, etc. that include some aspect of food.  My favorite show without a doubt is The Mind of a Chef on PBS.  In the second season the show follows Chef Sean Brock, Chef of McGrady’s in Charleston and Husk in Nashville and Charleston, as he attempts to highlight the beauty of simple heirloom ingredients of the South.  I was in awe by his love and passion for food, and the beauty he derived from something as simple as rice and beans. By the end of my Netflix binge of the show, I had his cook book Heritage on my lap so I could follow along as he described things on the television.  Brock-HeritageAfter salivating through all of the recipes in his book, I decided to combine two recipes and create my own dish… a dry aged squab prepared in the sous vide with duck confit squab legs, herbed farro and an wild licorice almond sauce.
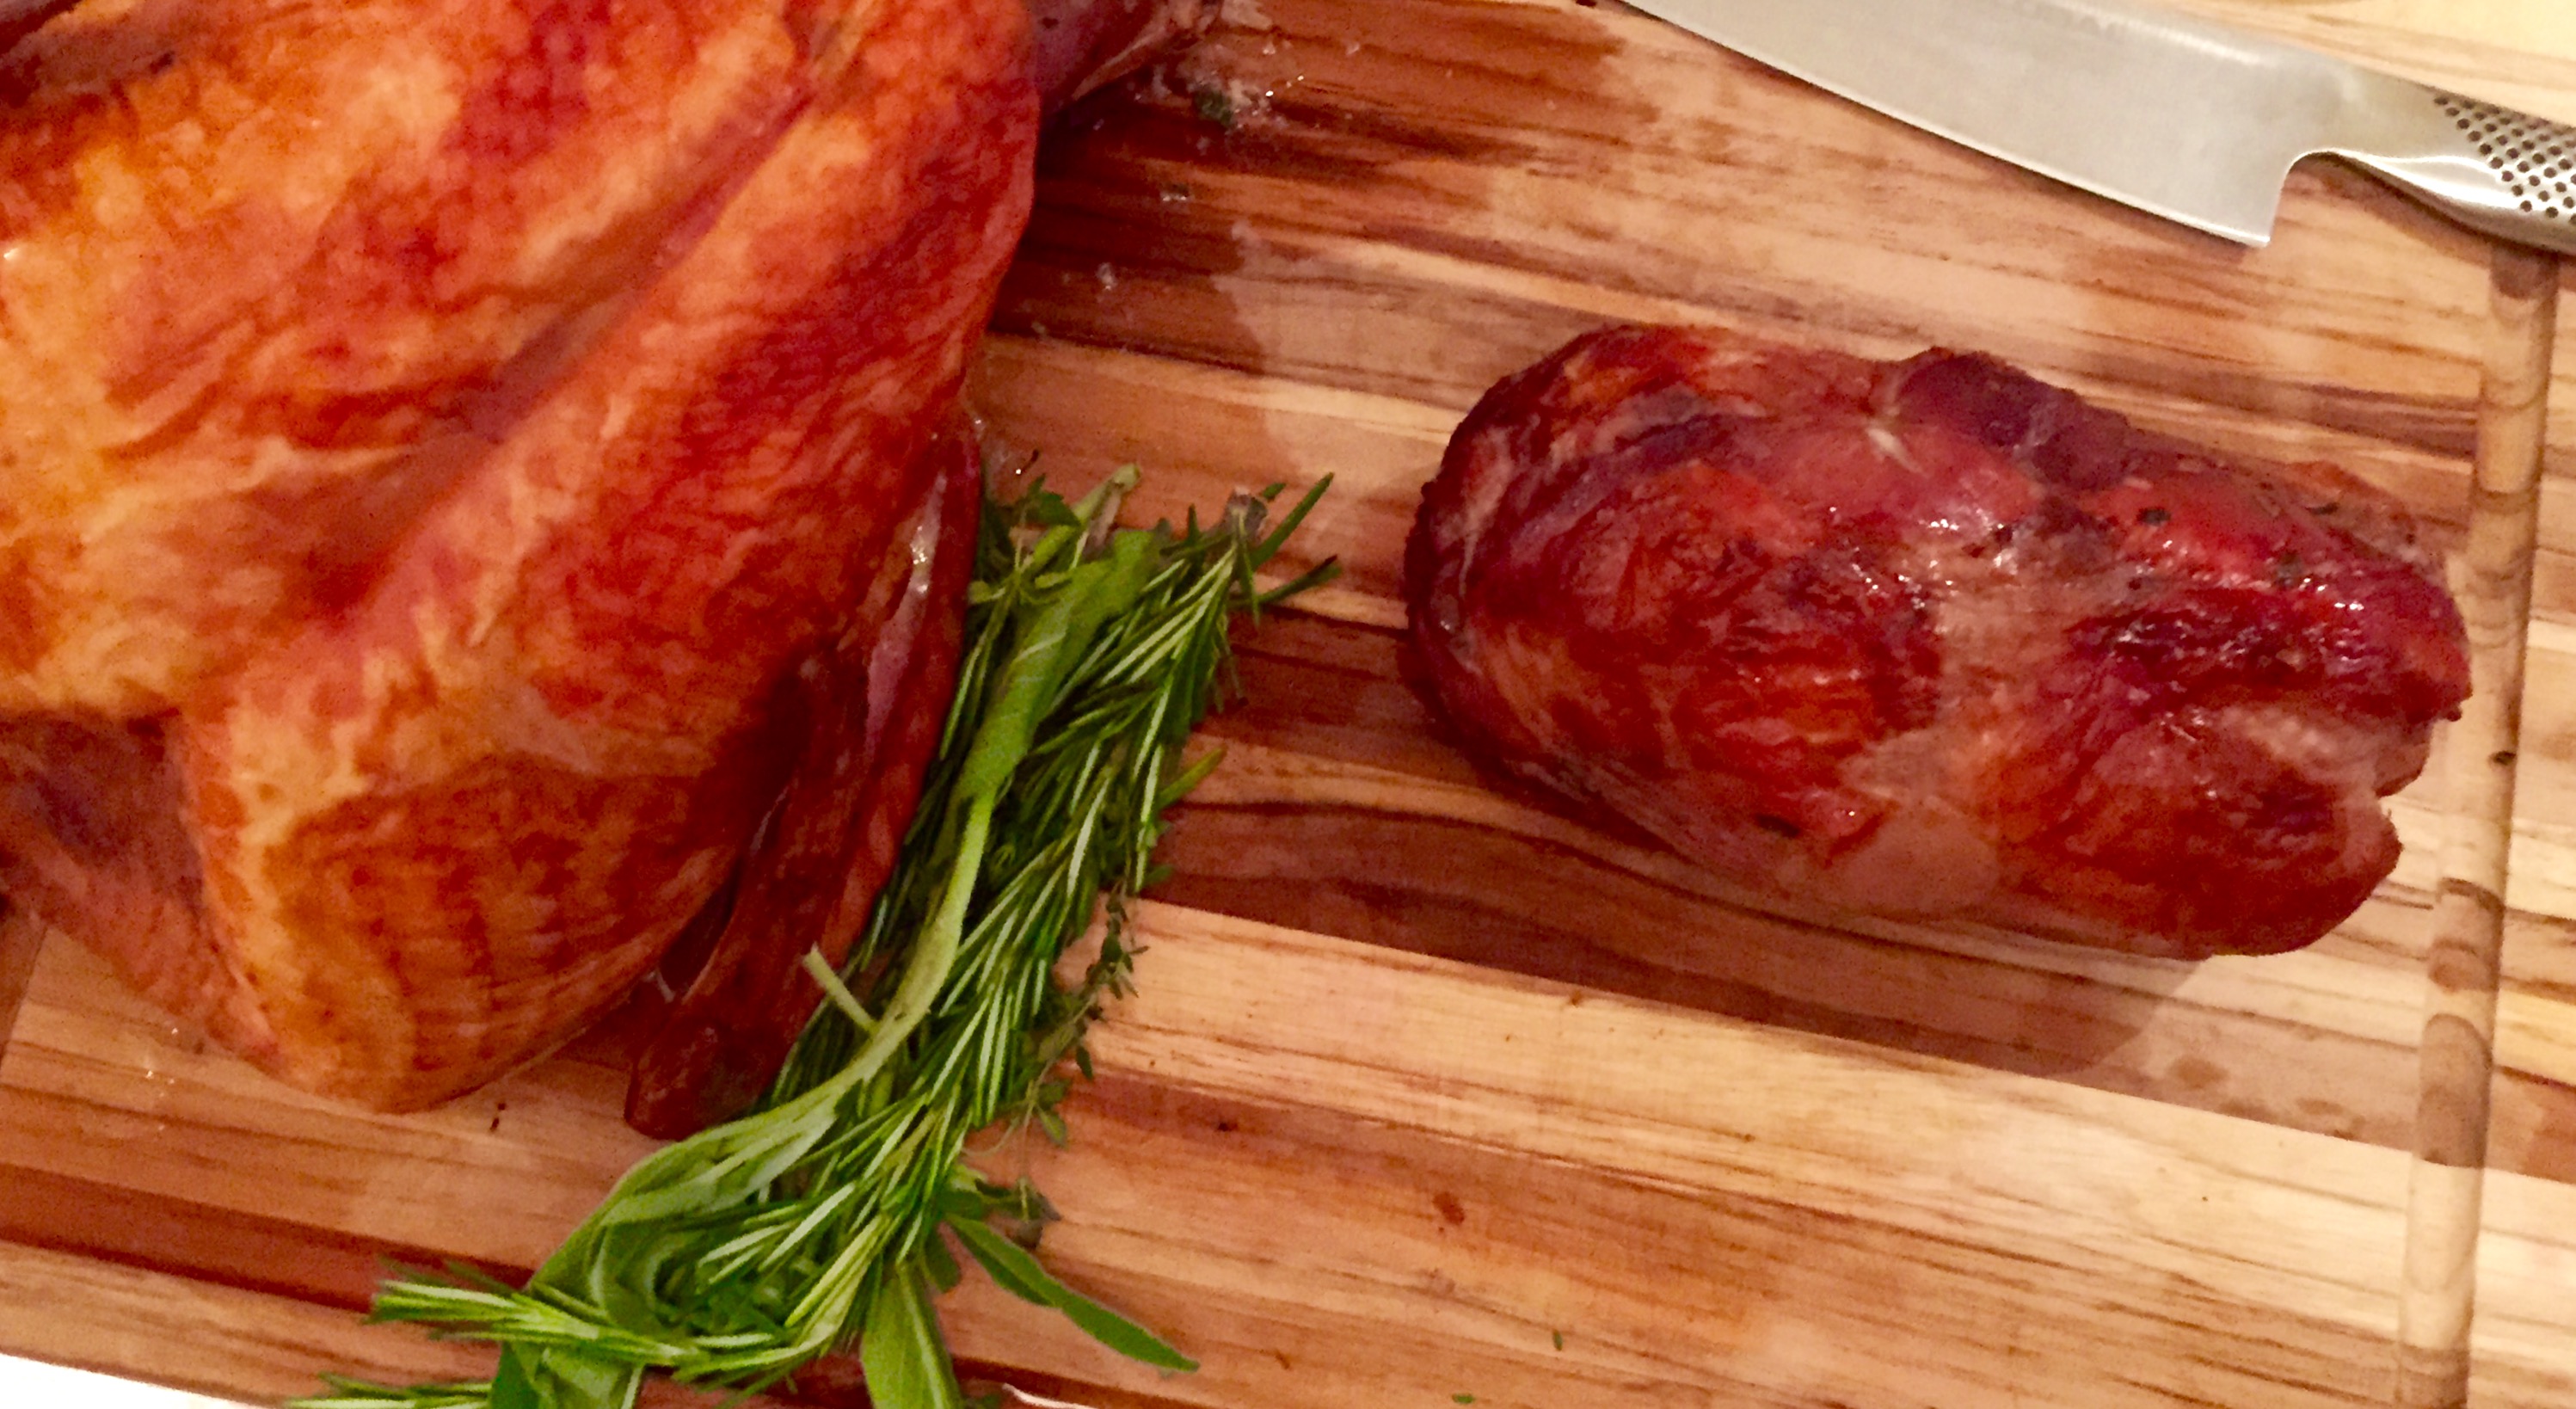
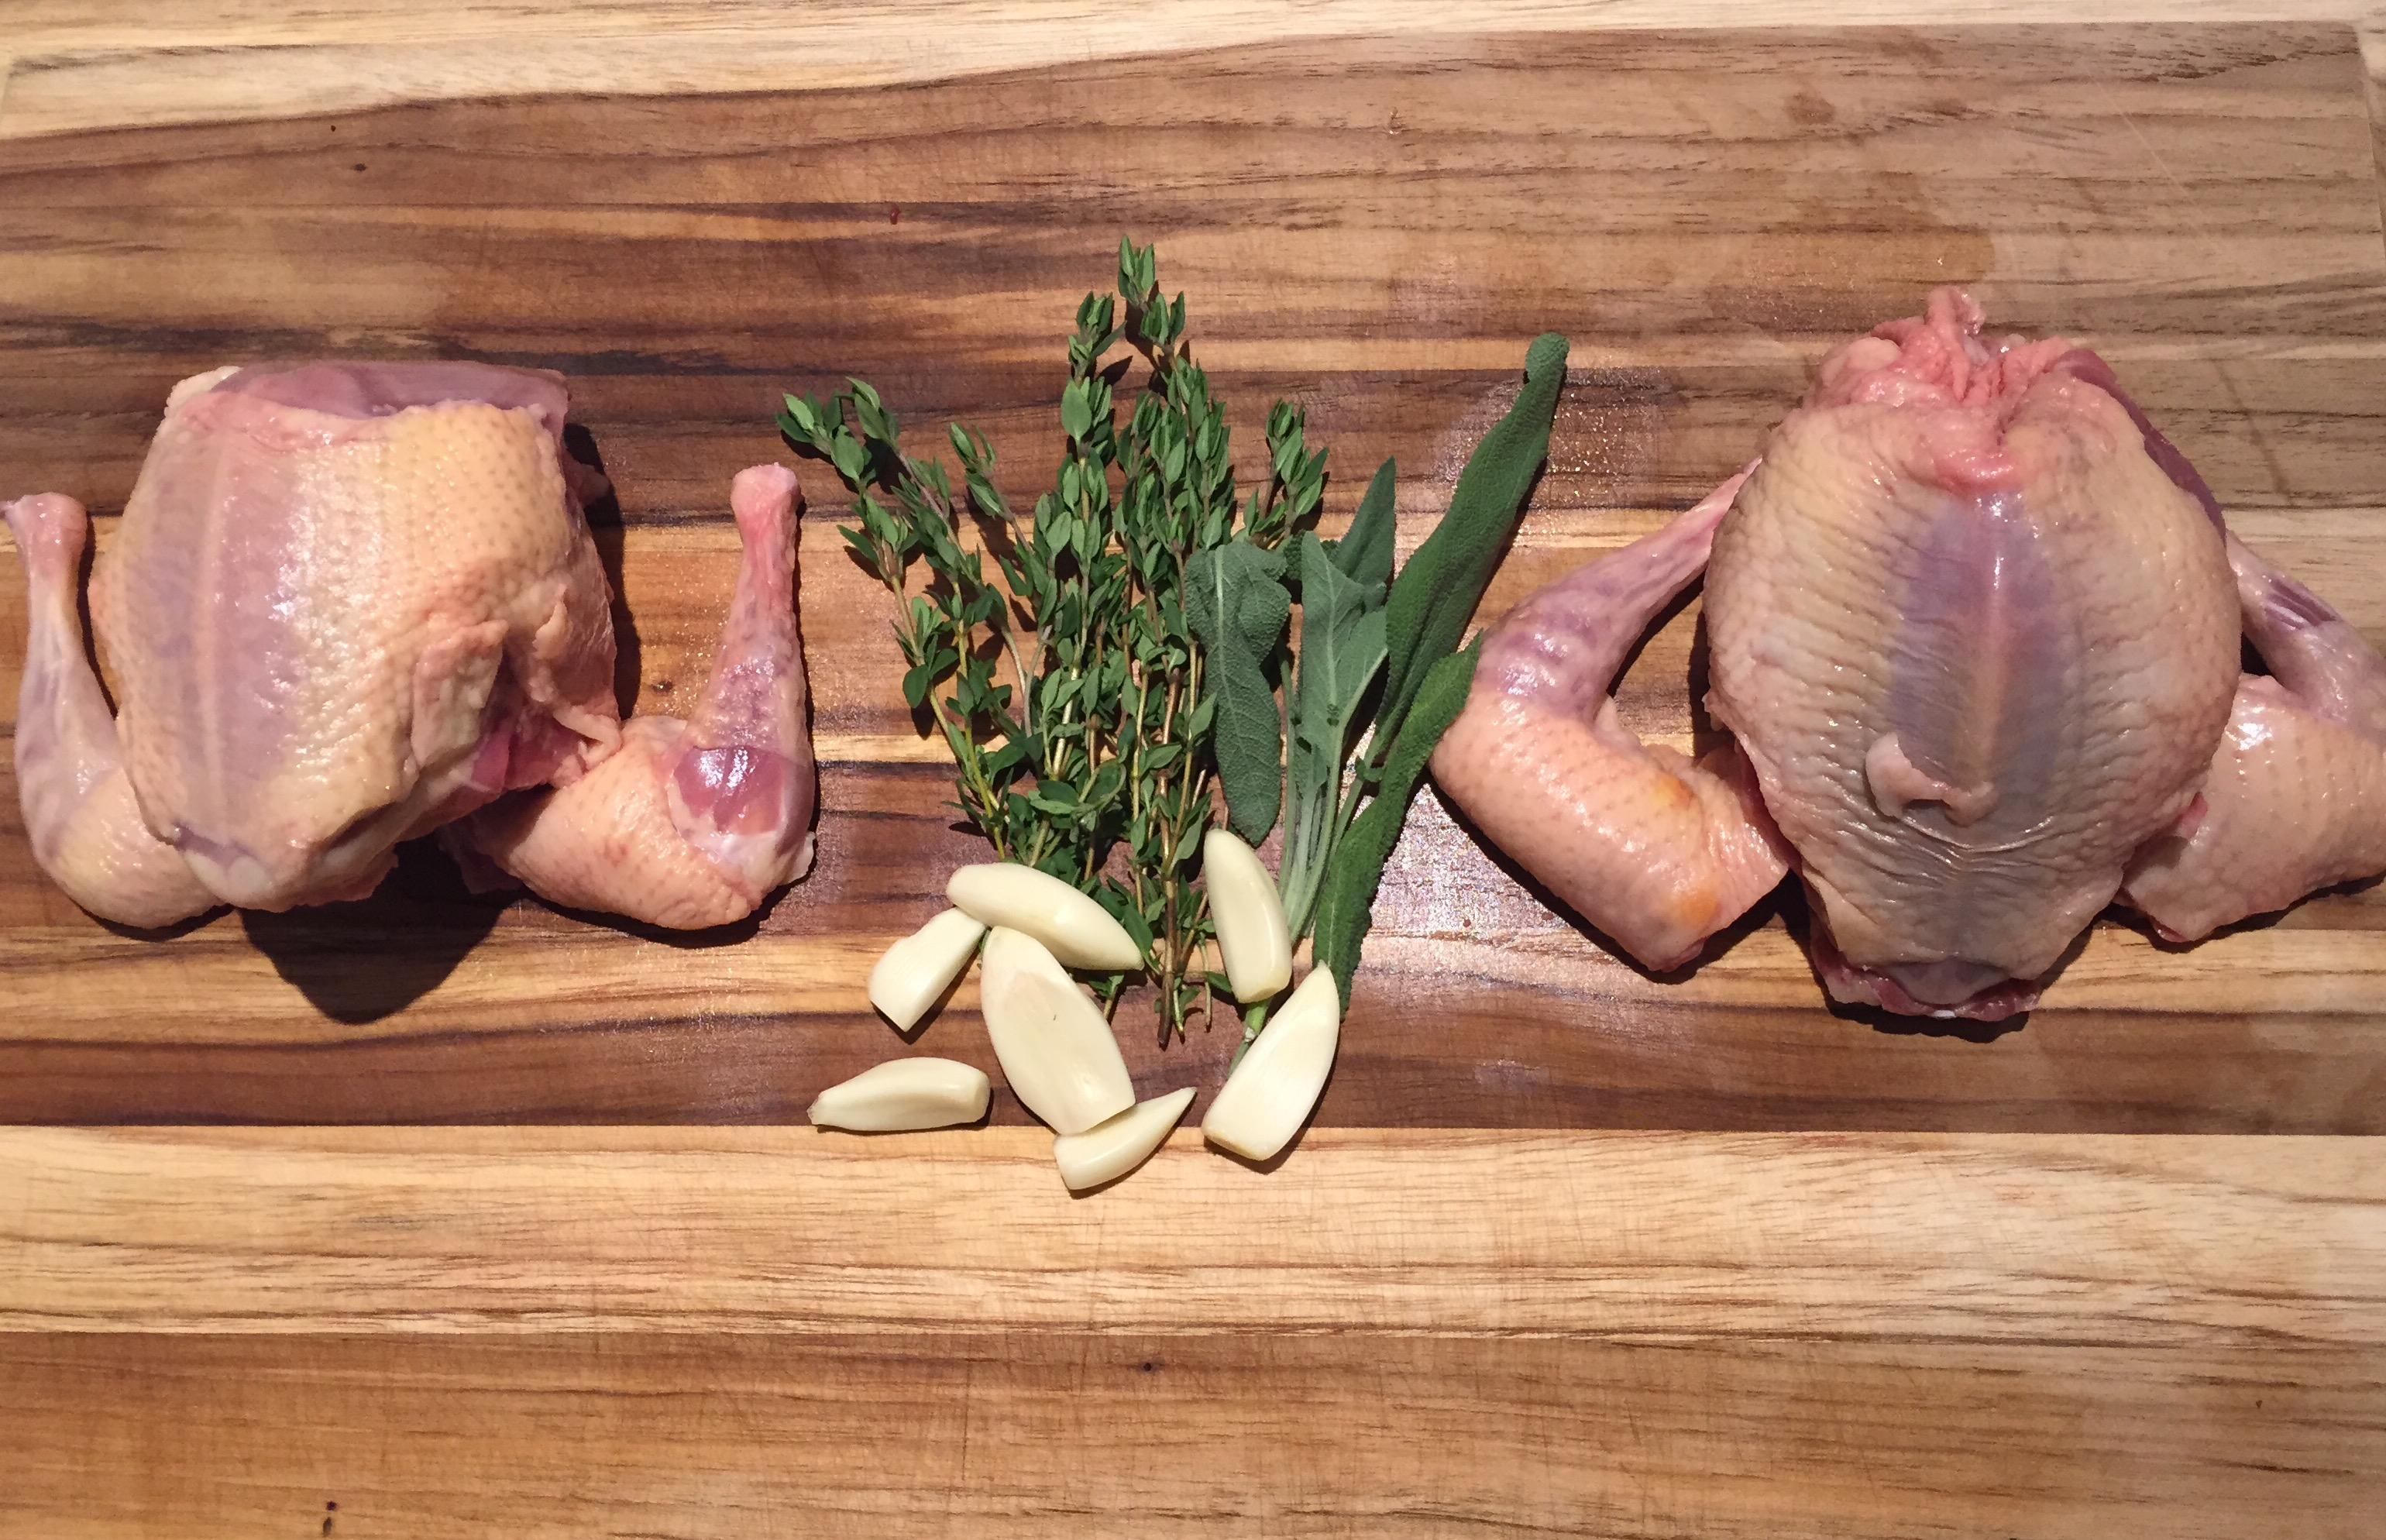
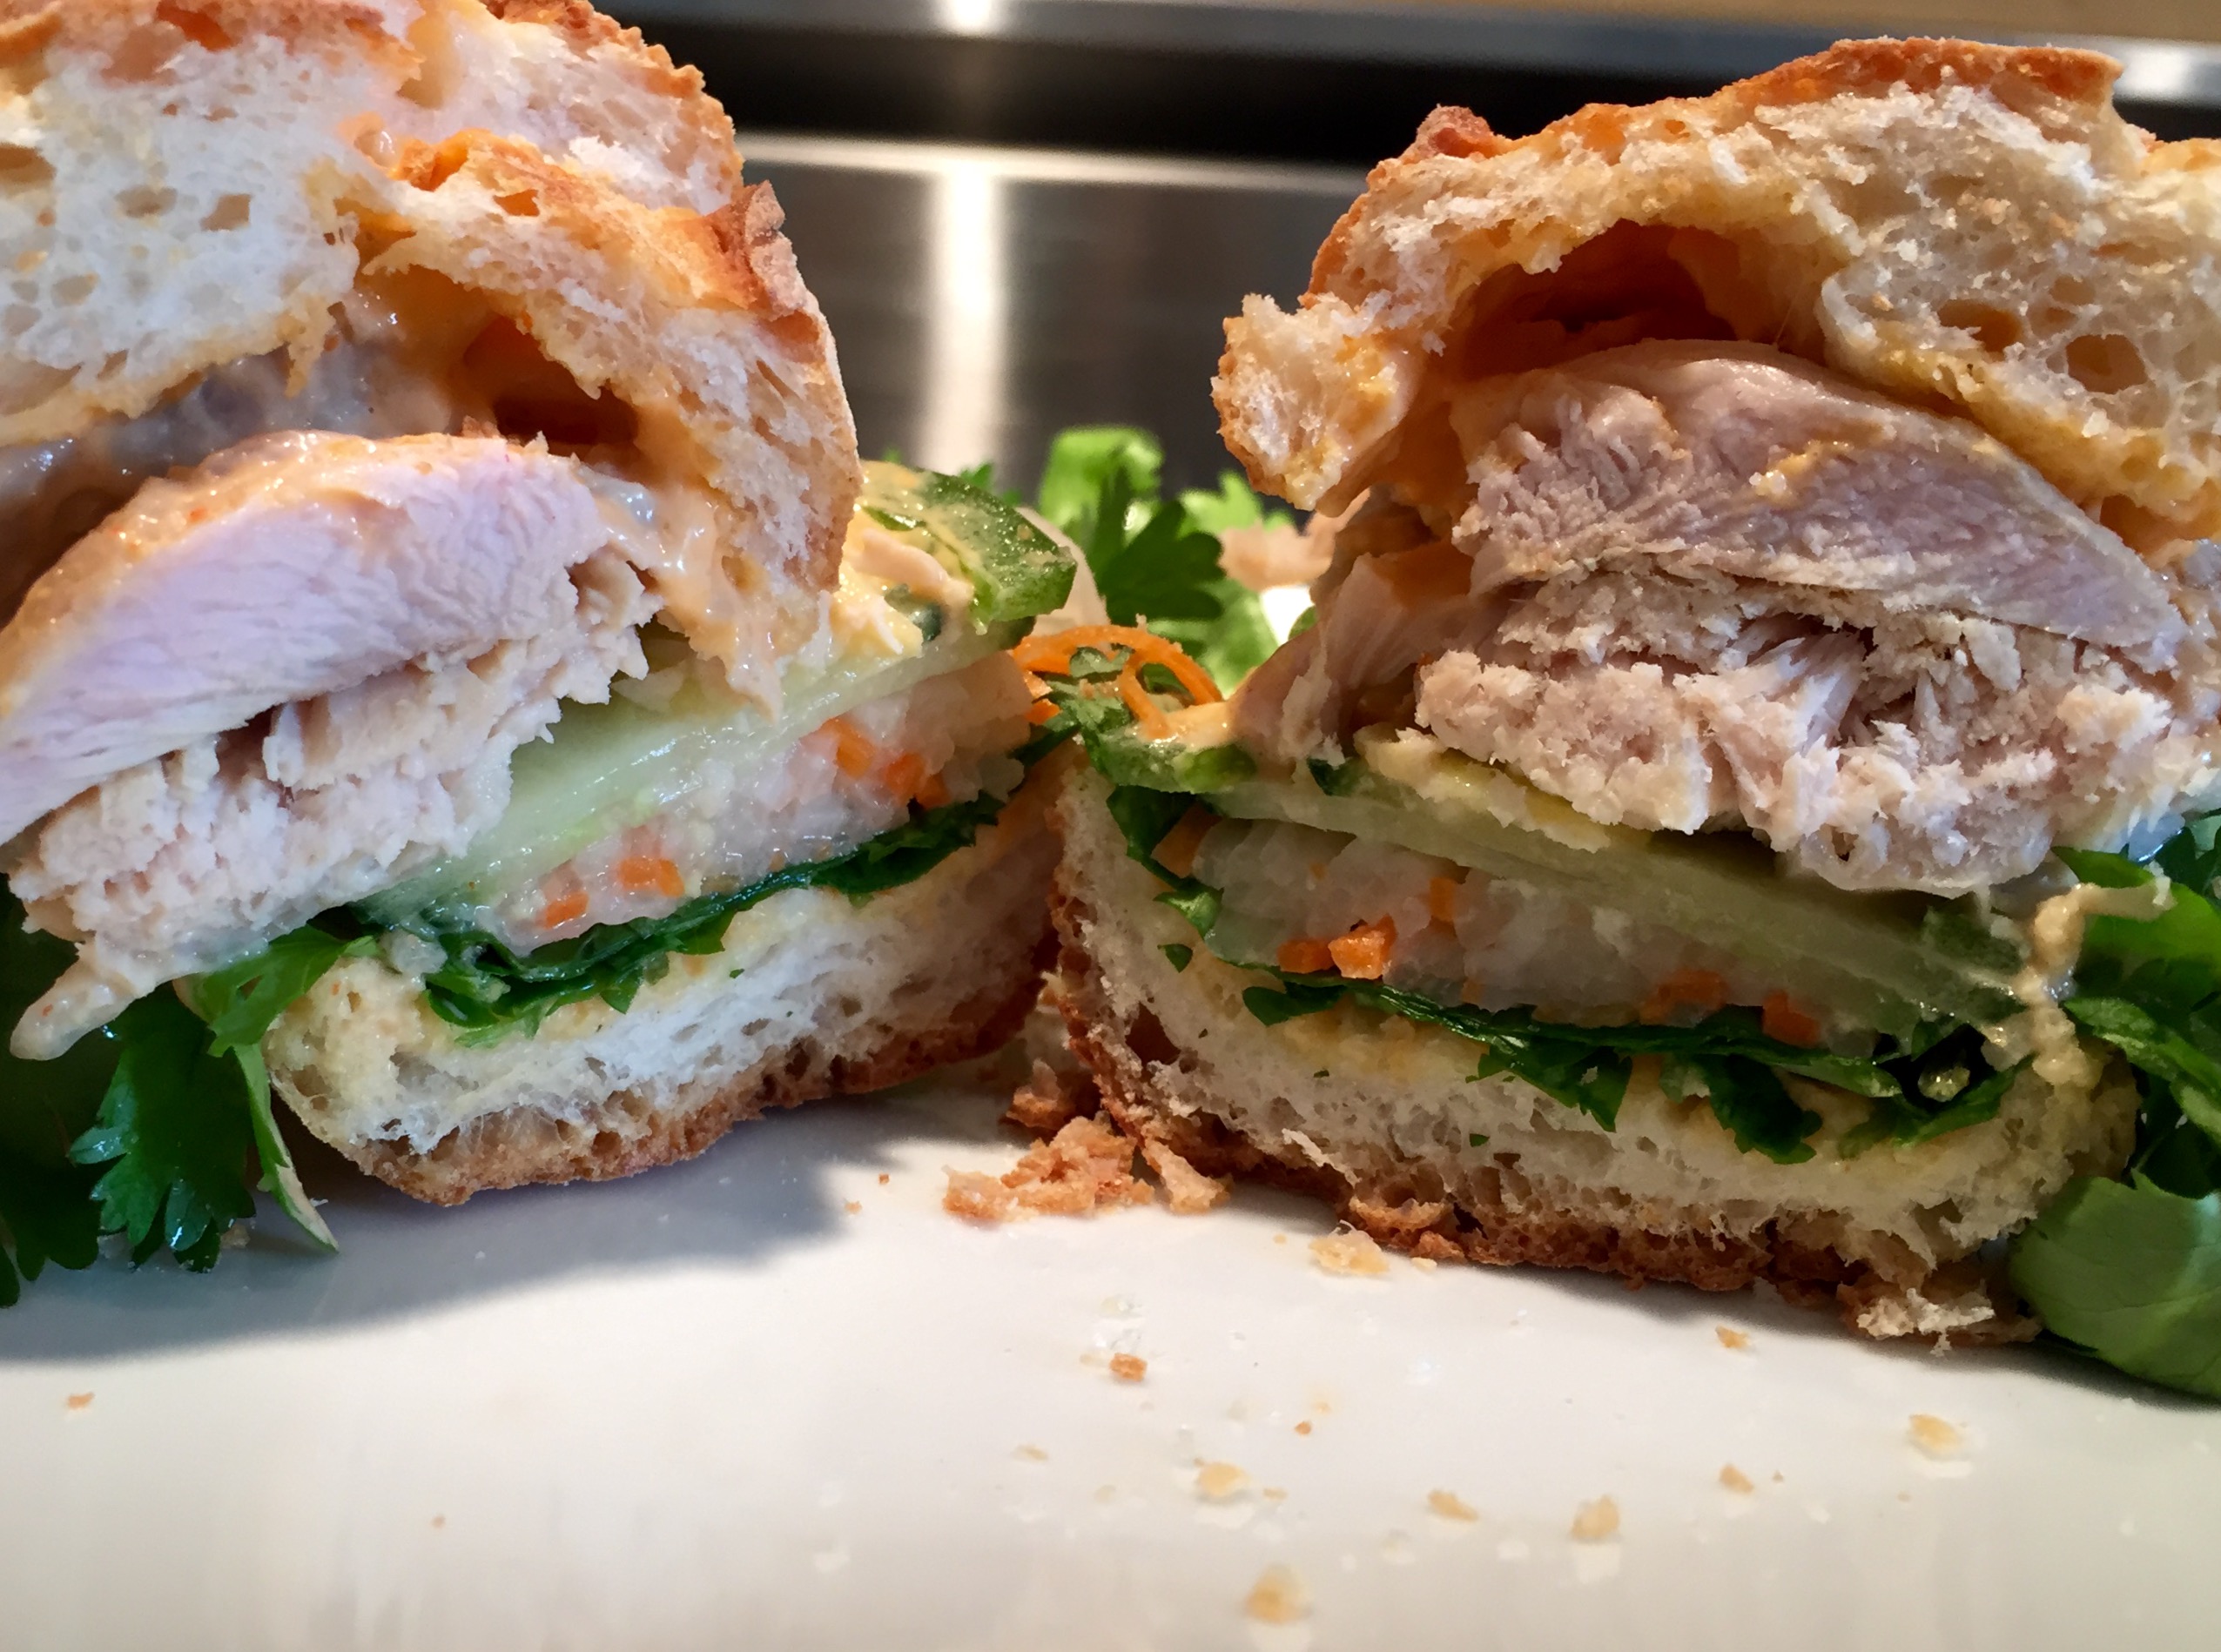
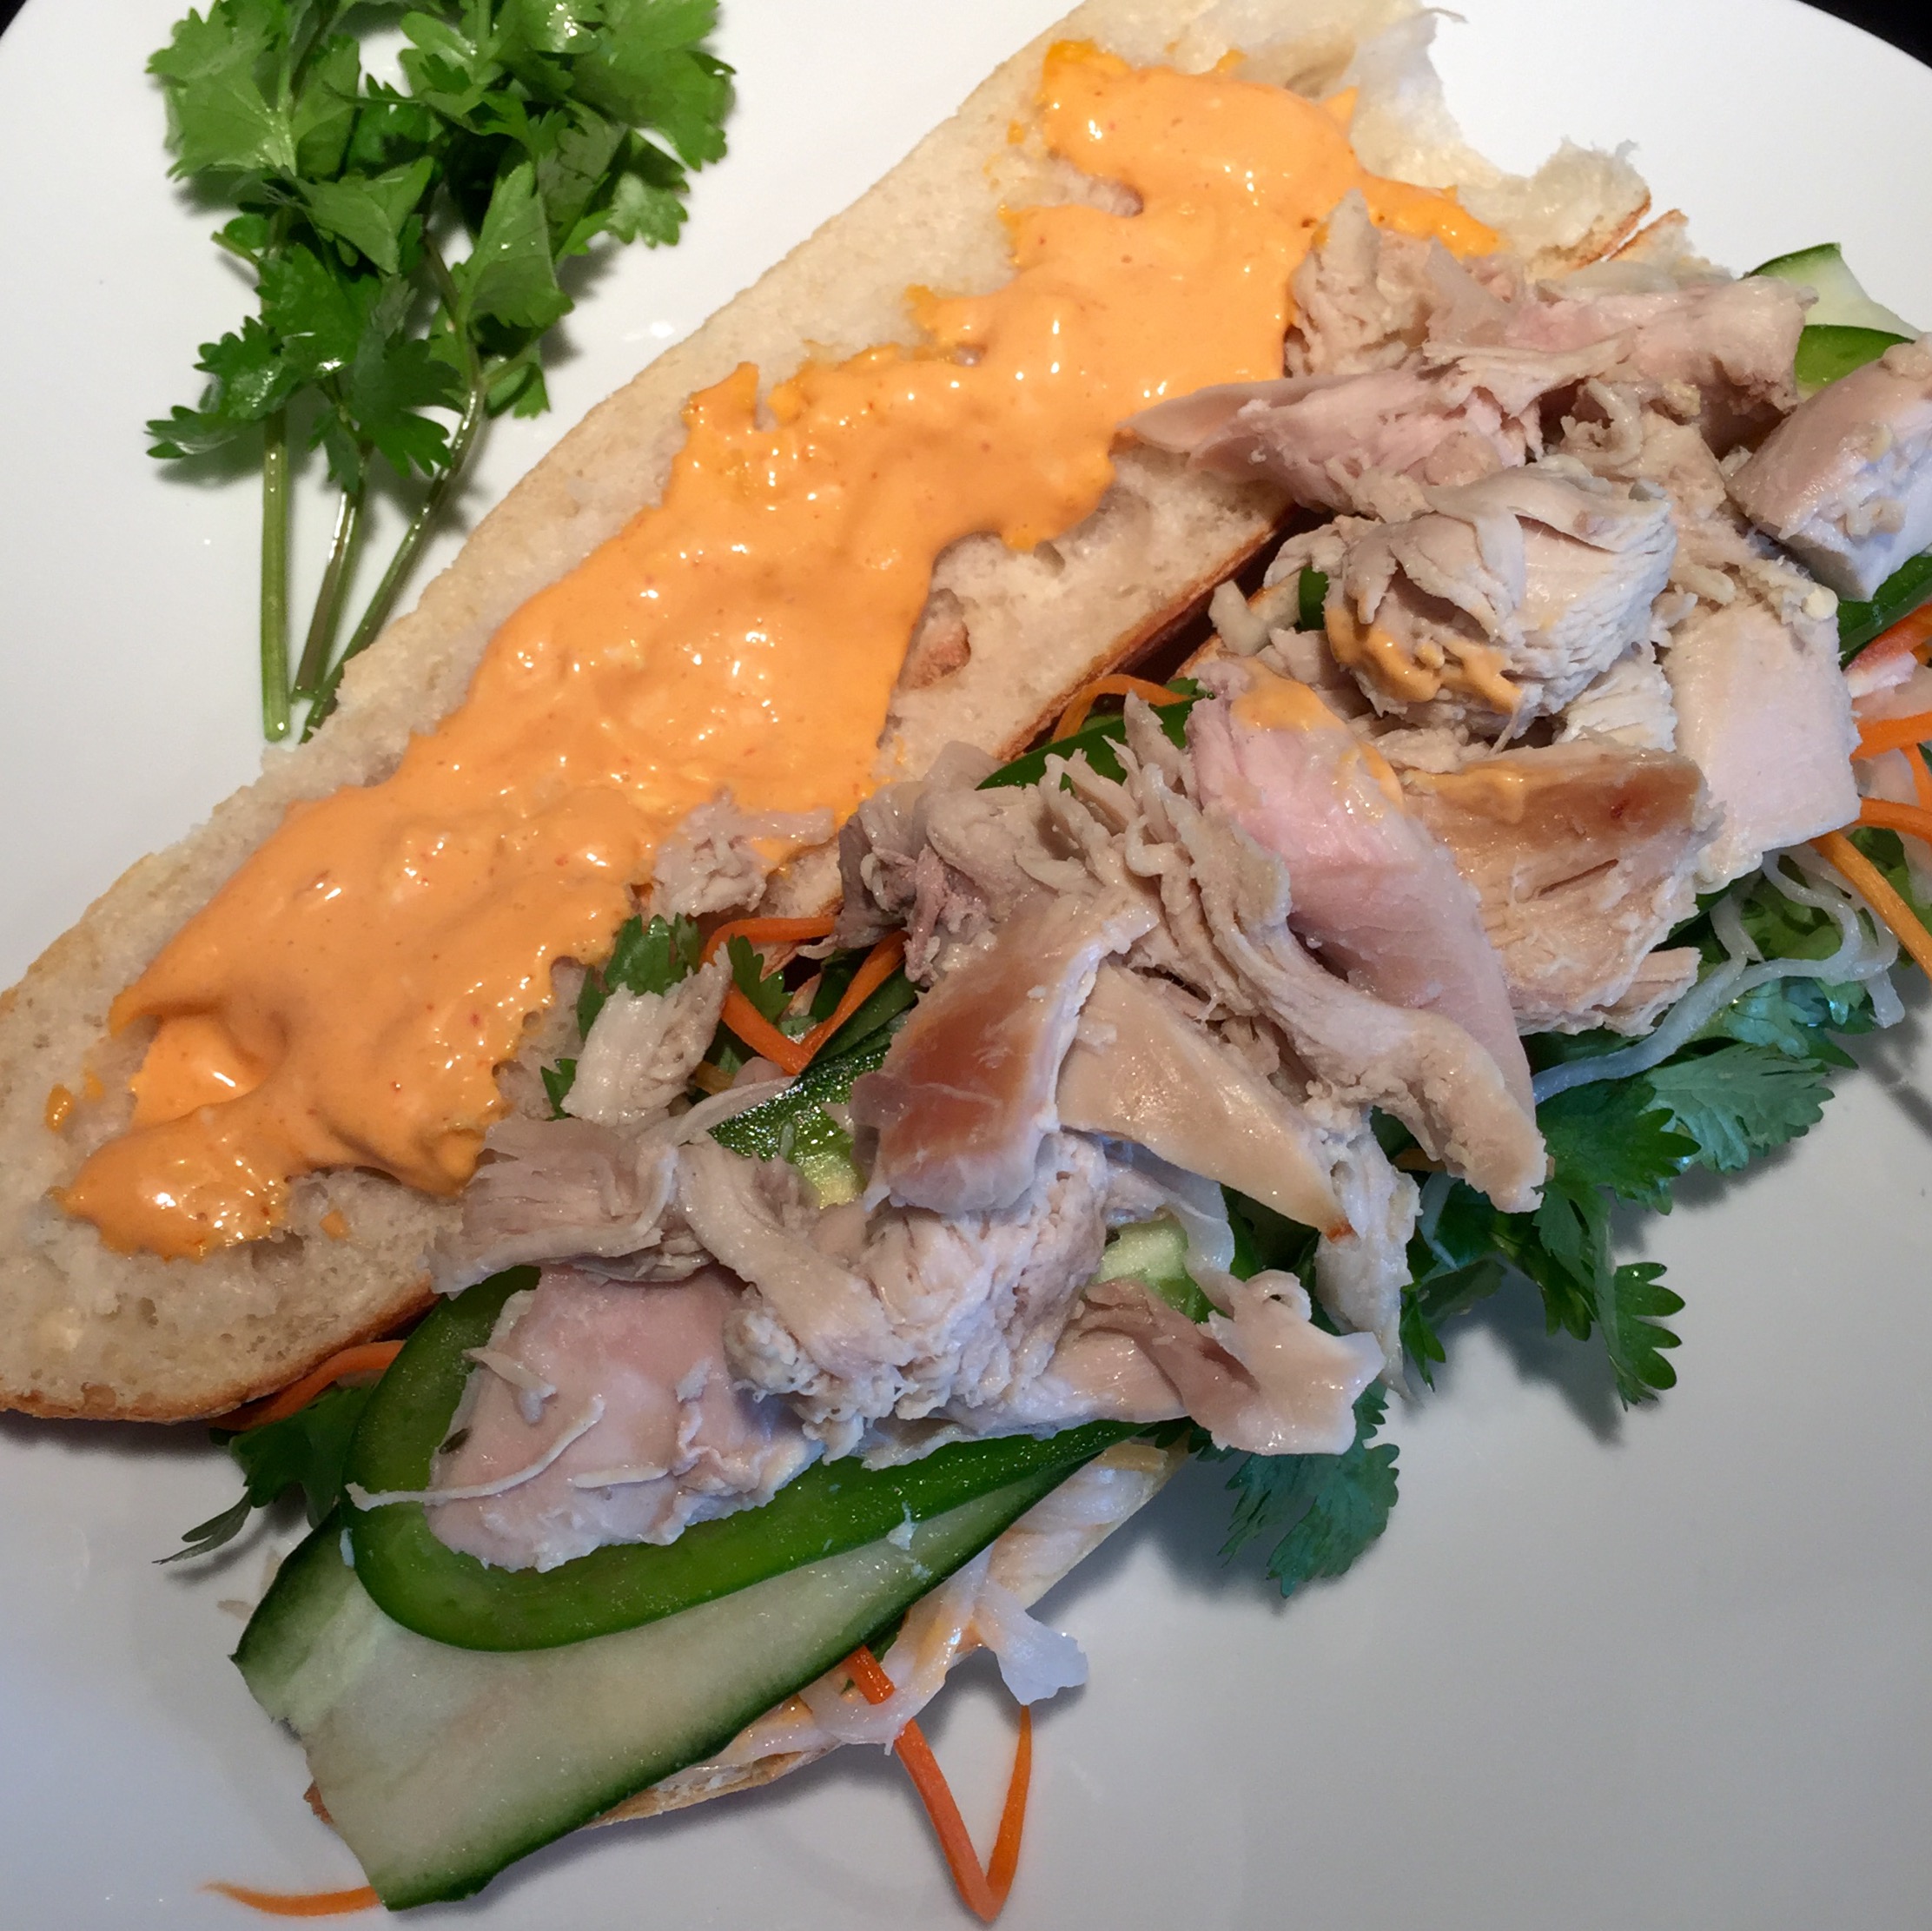
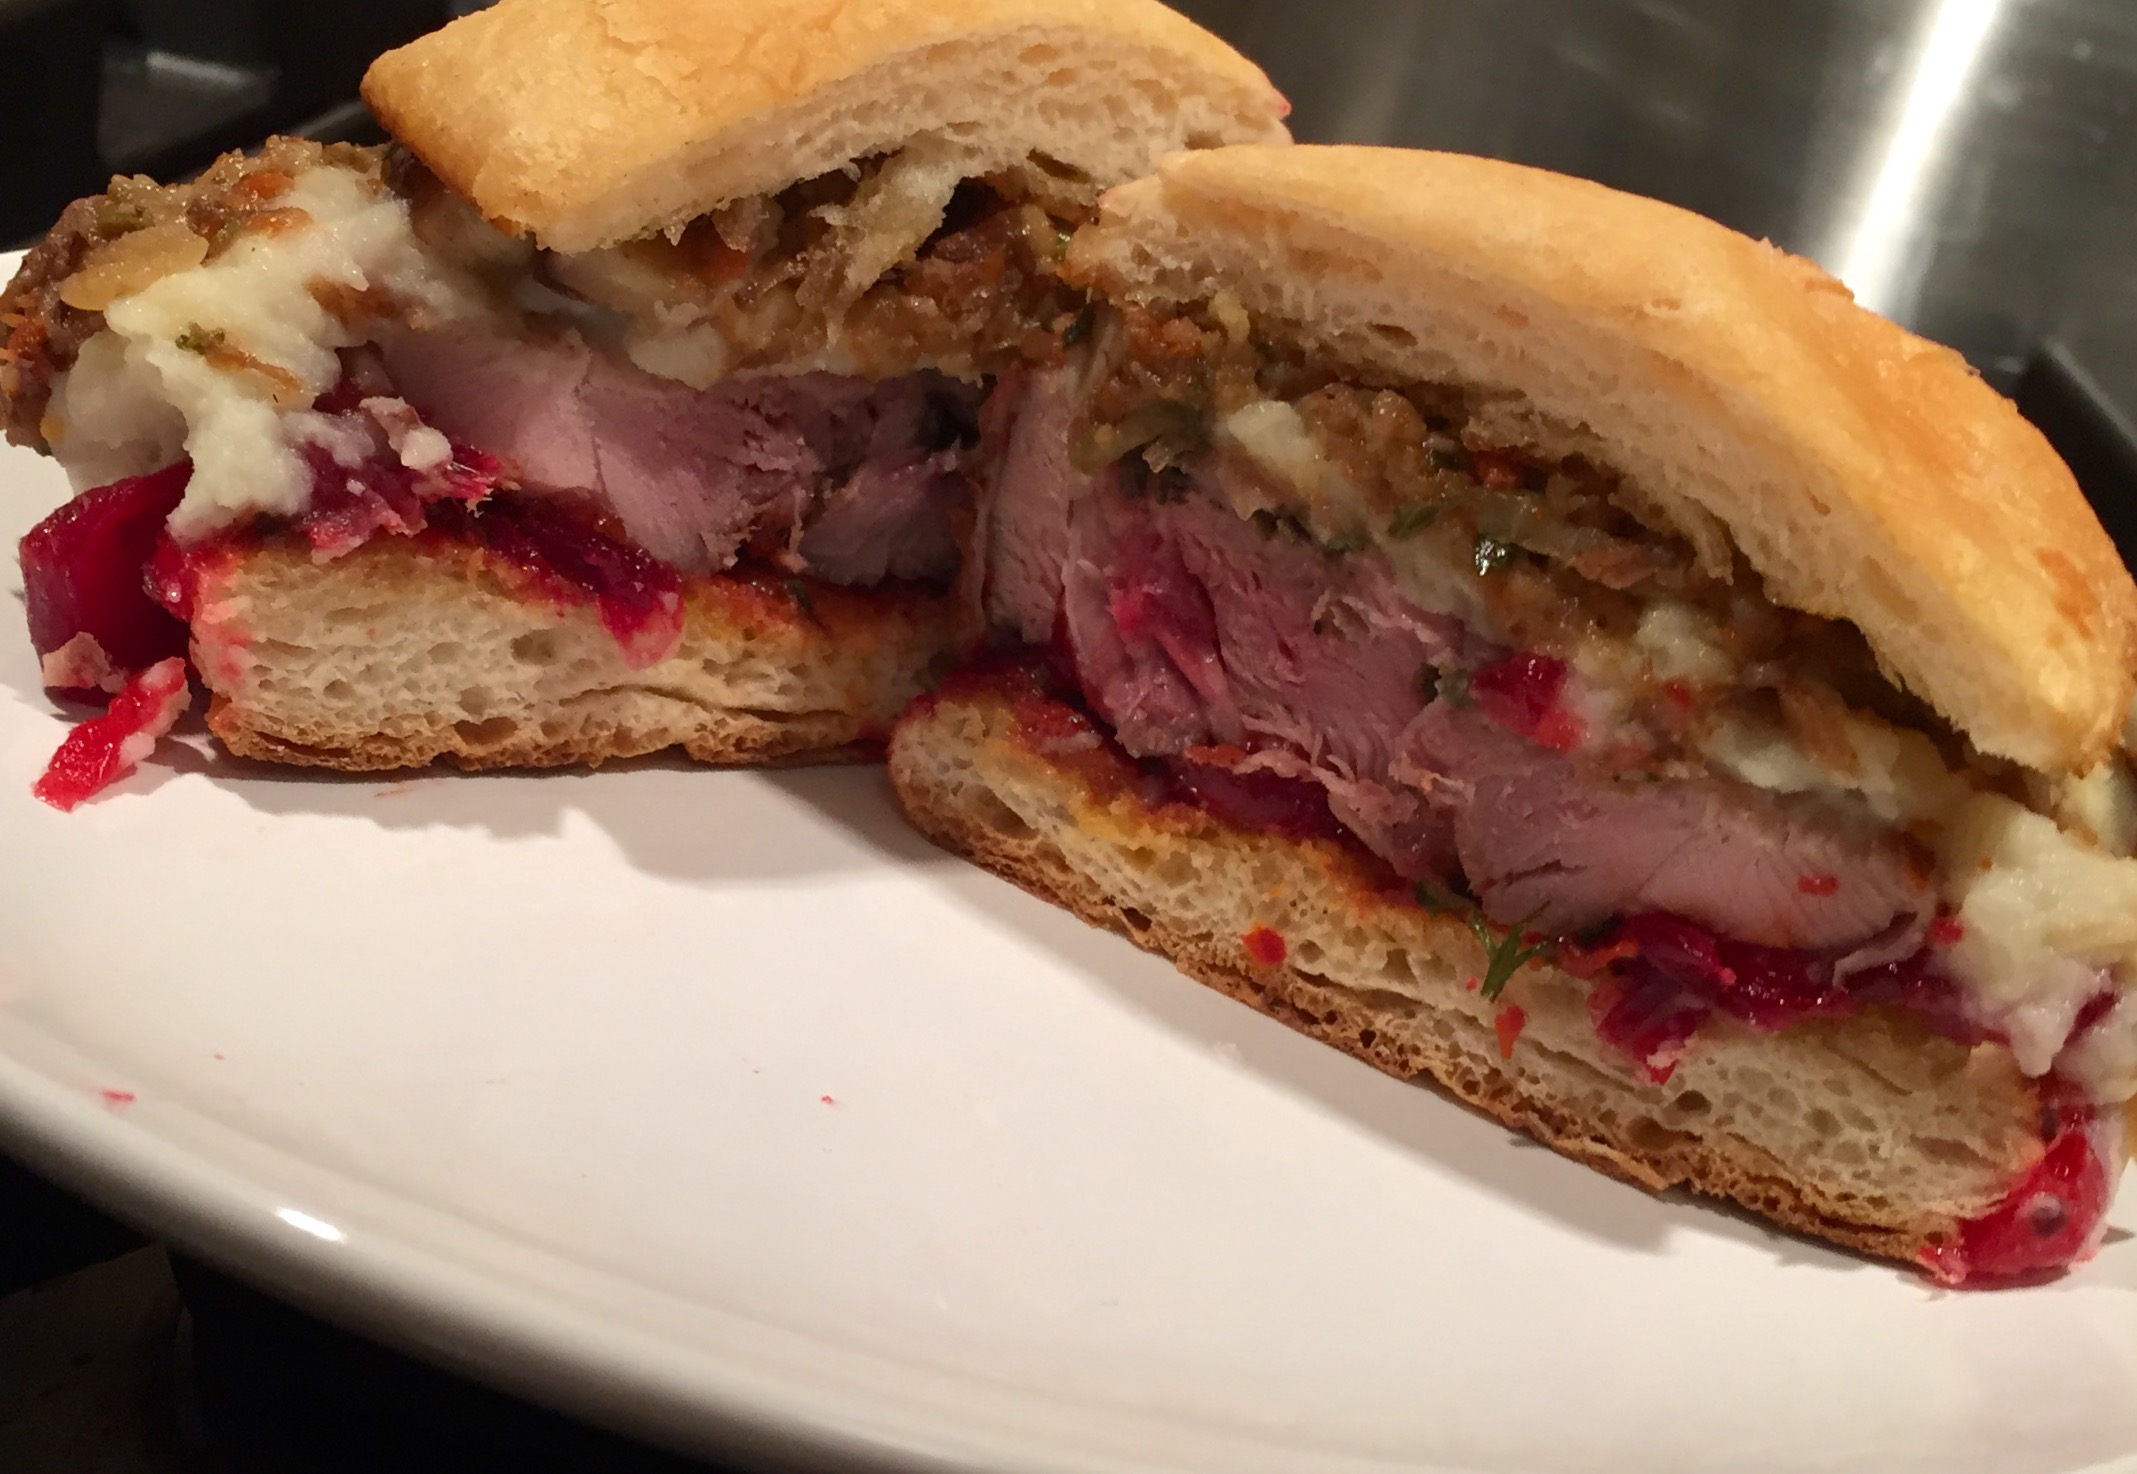
 Squab 2

Ingredients

2 squab (1 per person) 6 wild licorice root 4 inch pieces 2 cups of almonds 2 cups whole milk 1 cup of duck fat 1 cup faro 2-3 cups chicken stock 1 onion 2 bushels of flat leaf parsley 1/2 handful of dill 1 lemon 1 garlic bulb 1 package of thyme

Preparation

3-4 days in advance of serving

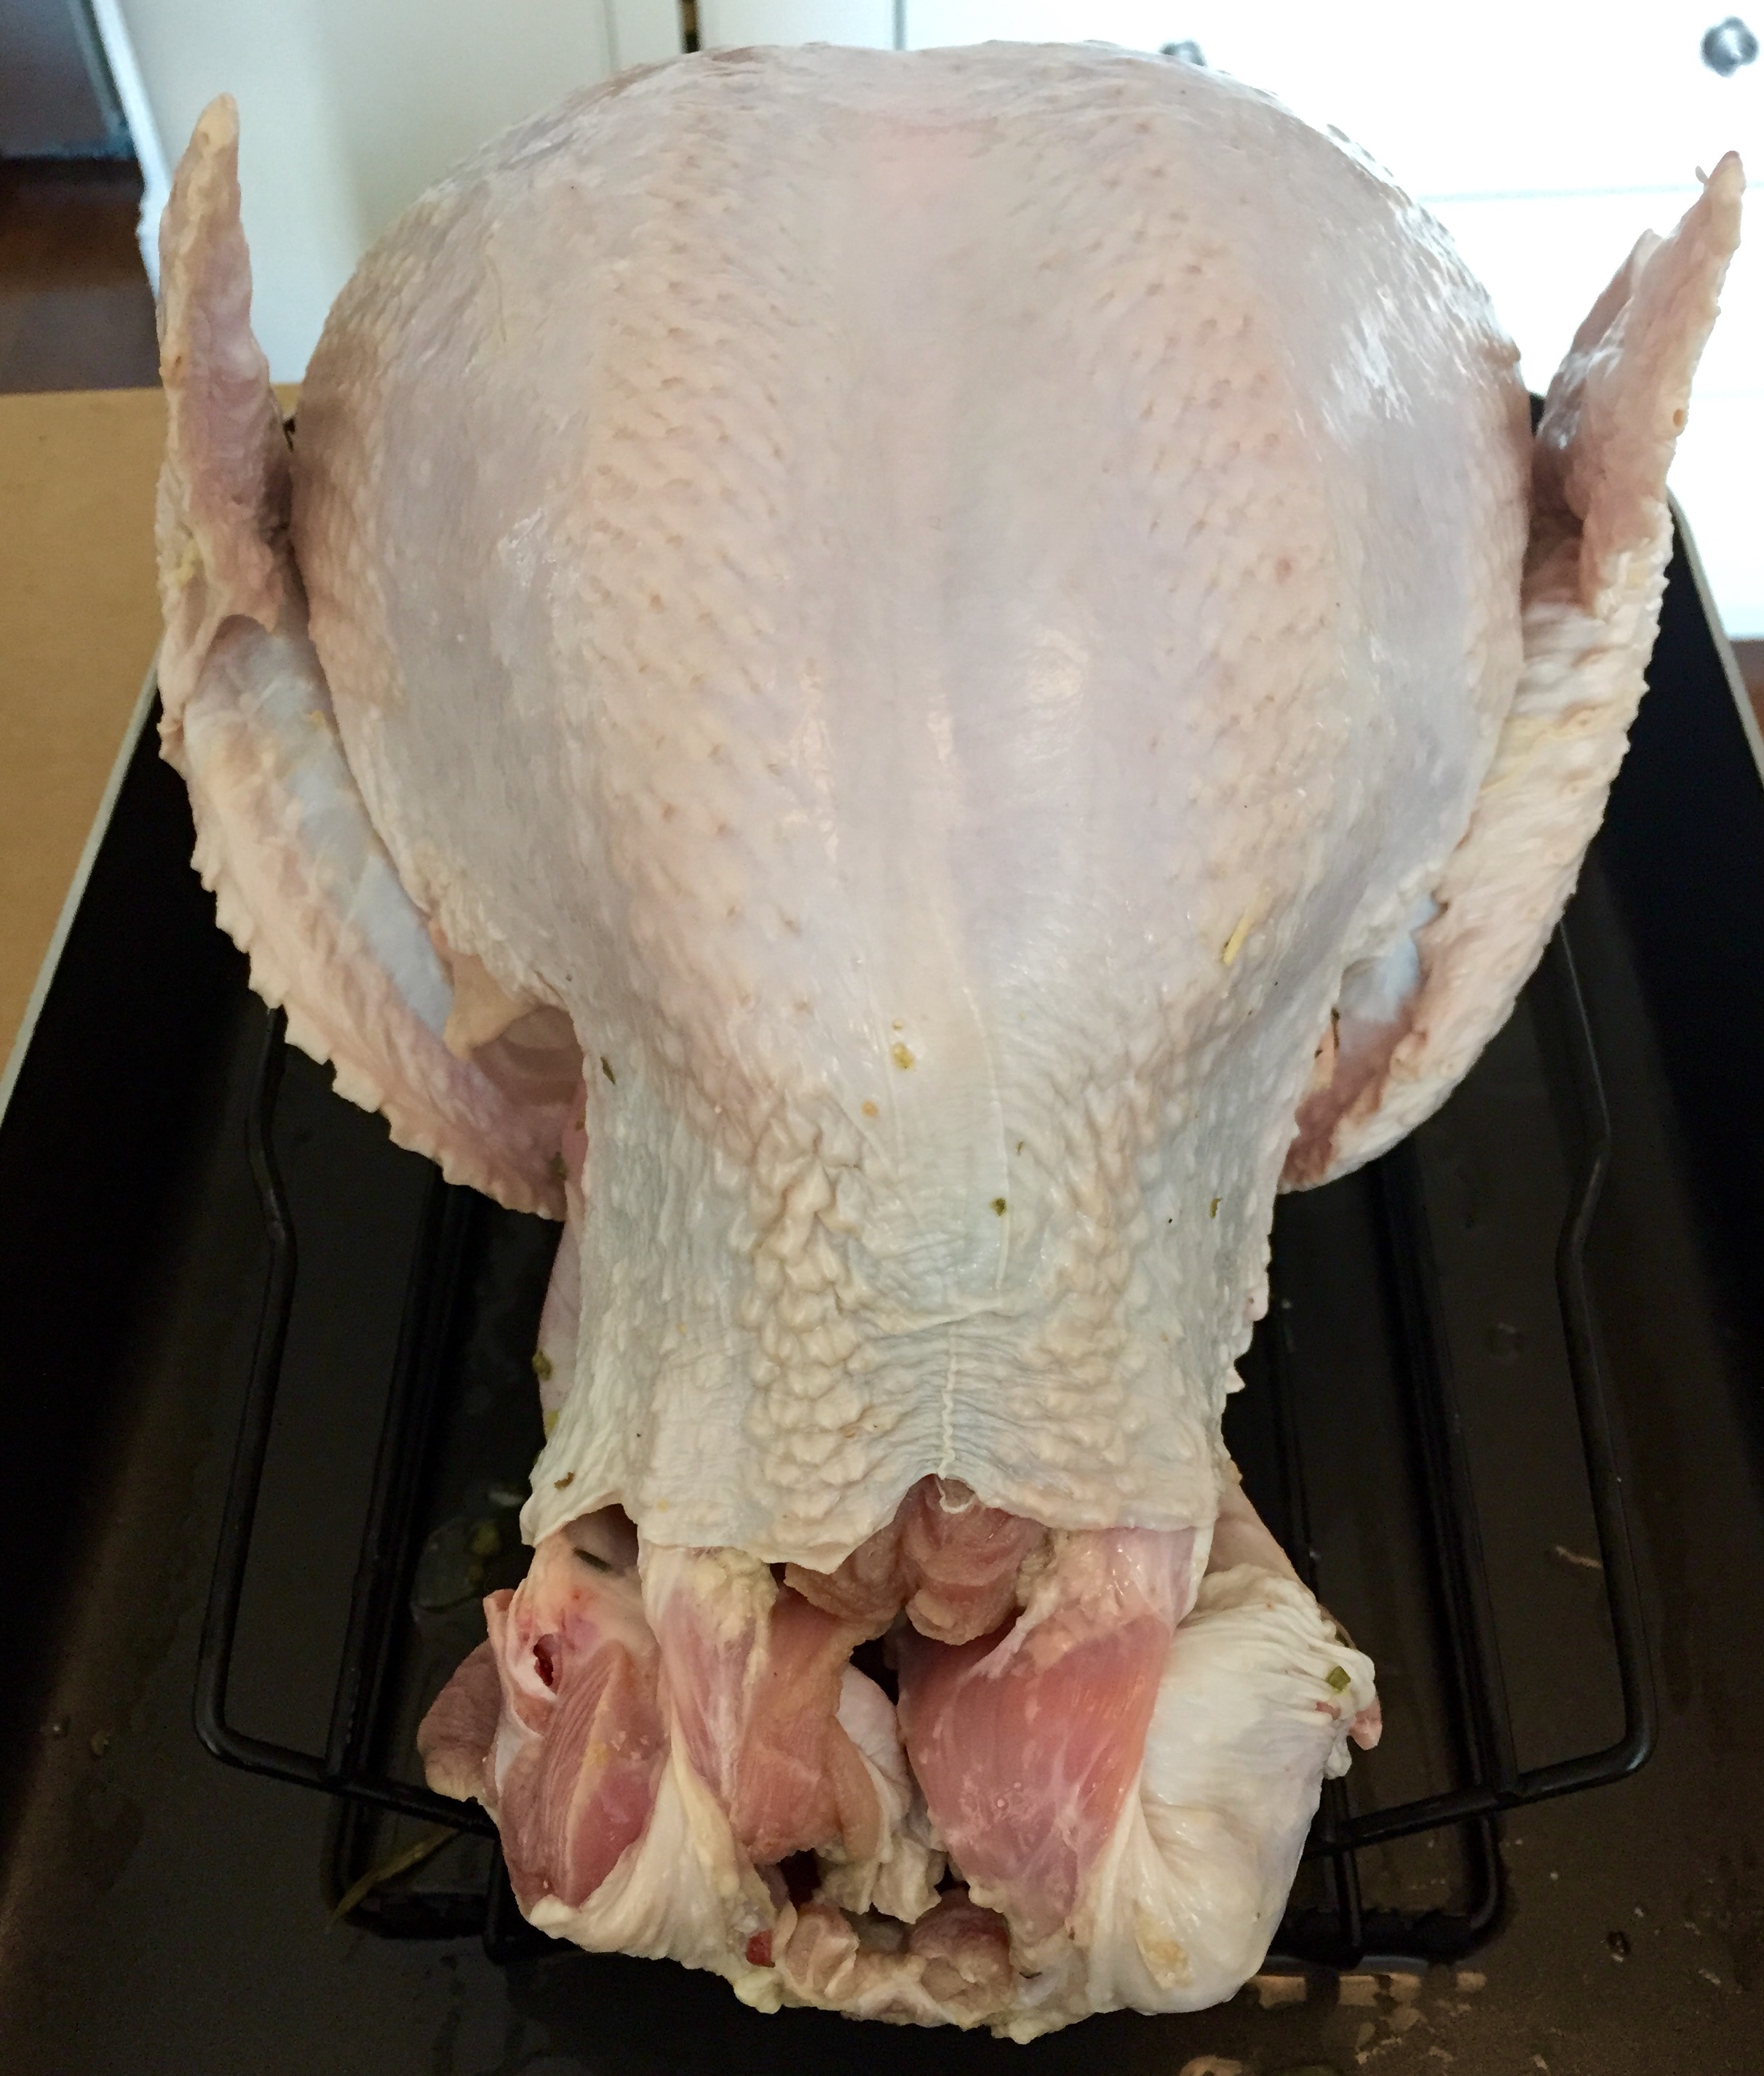
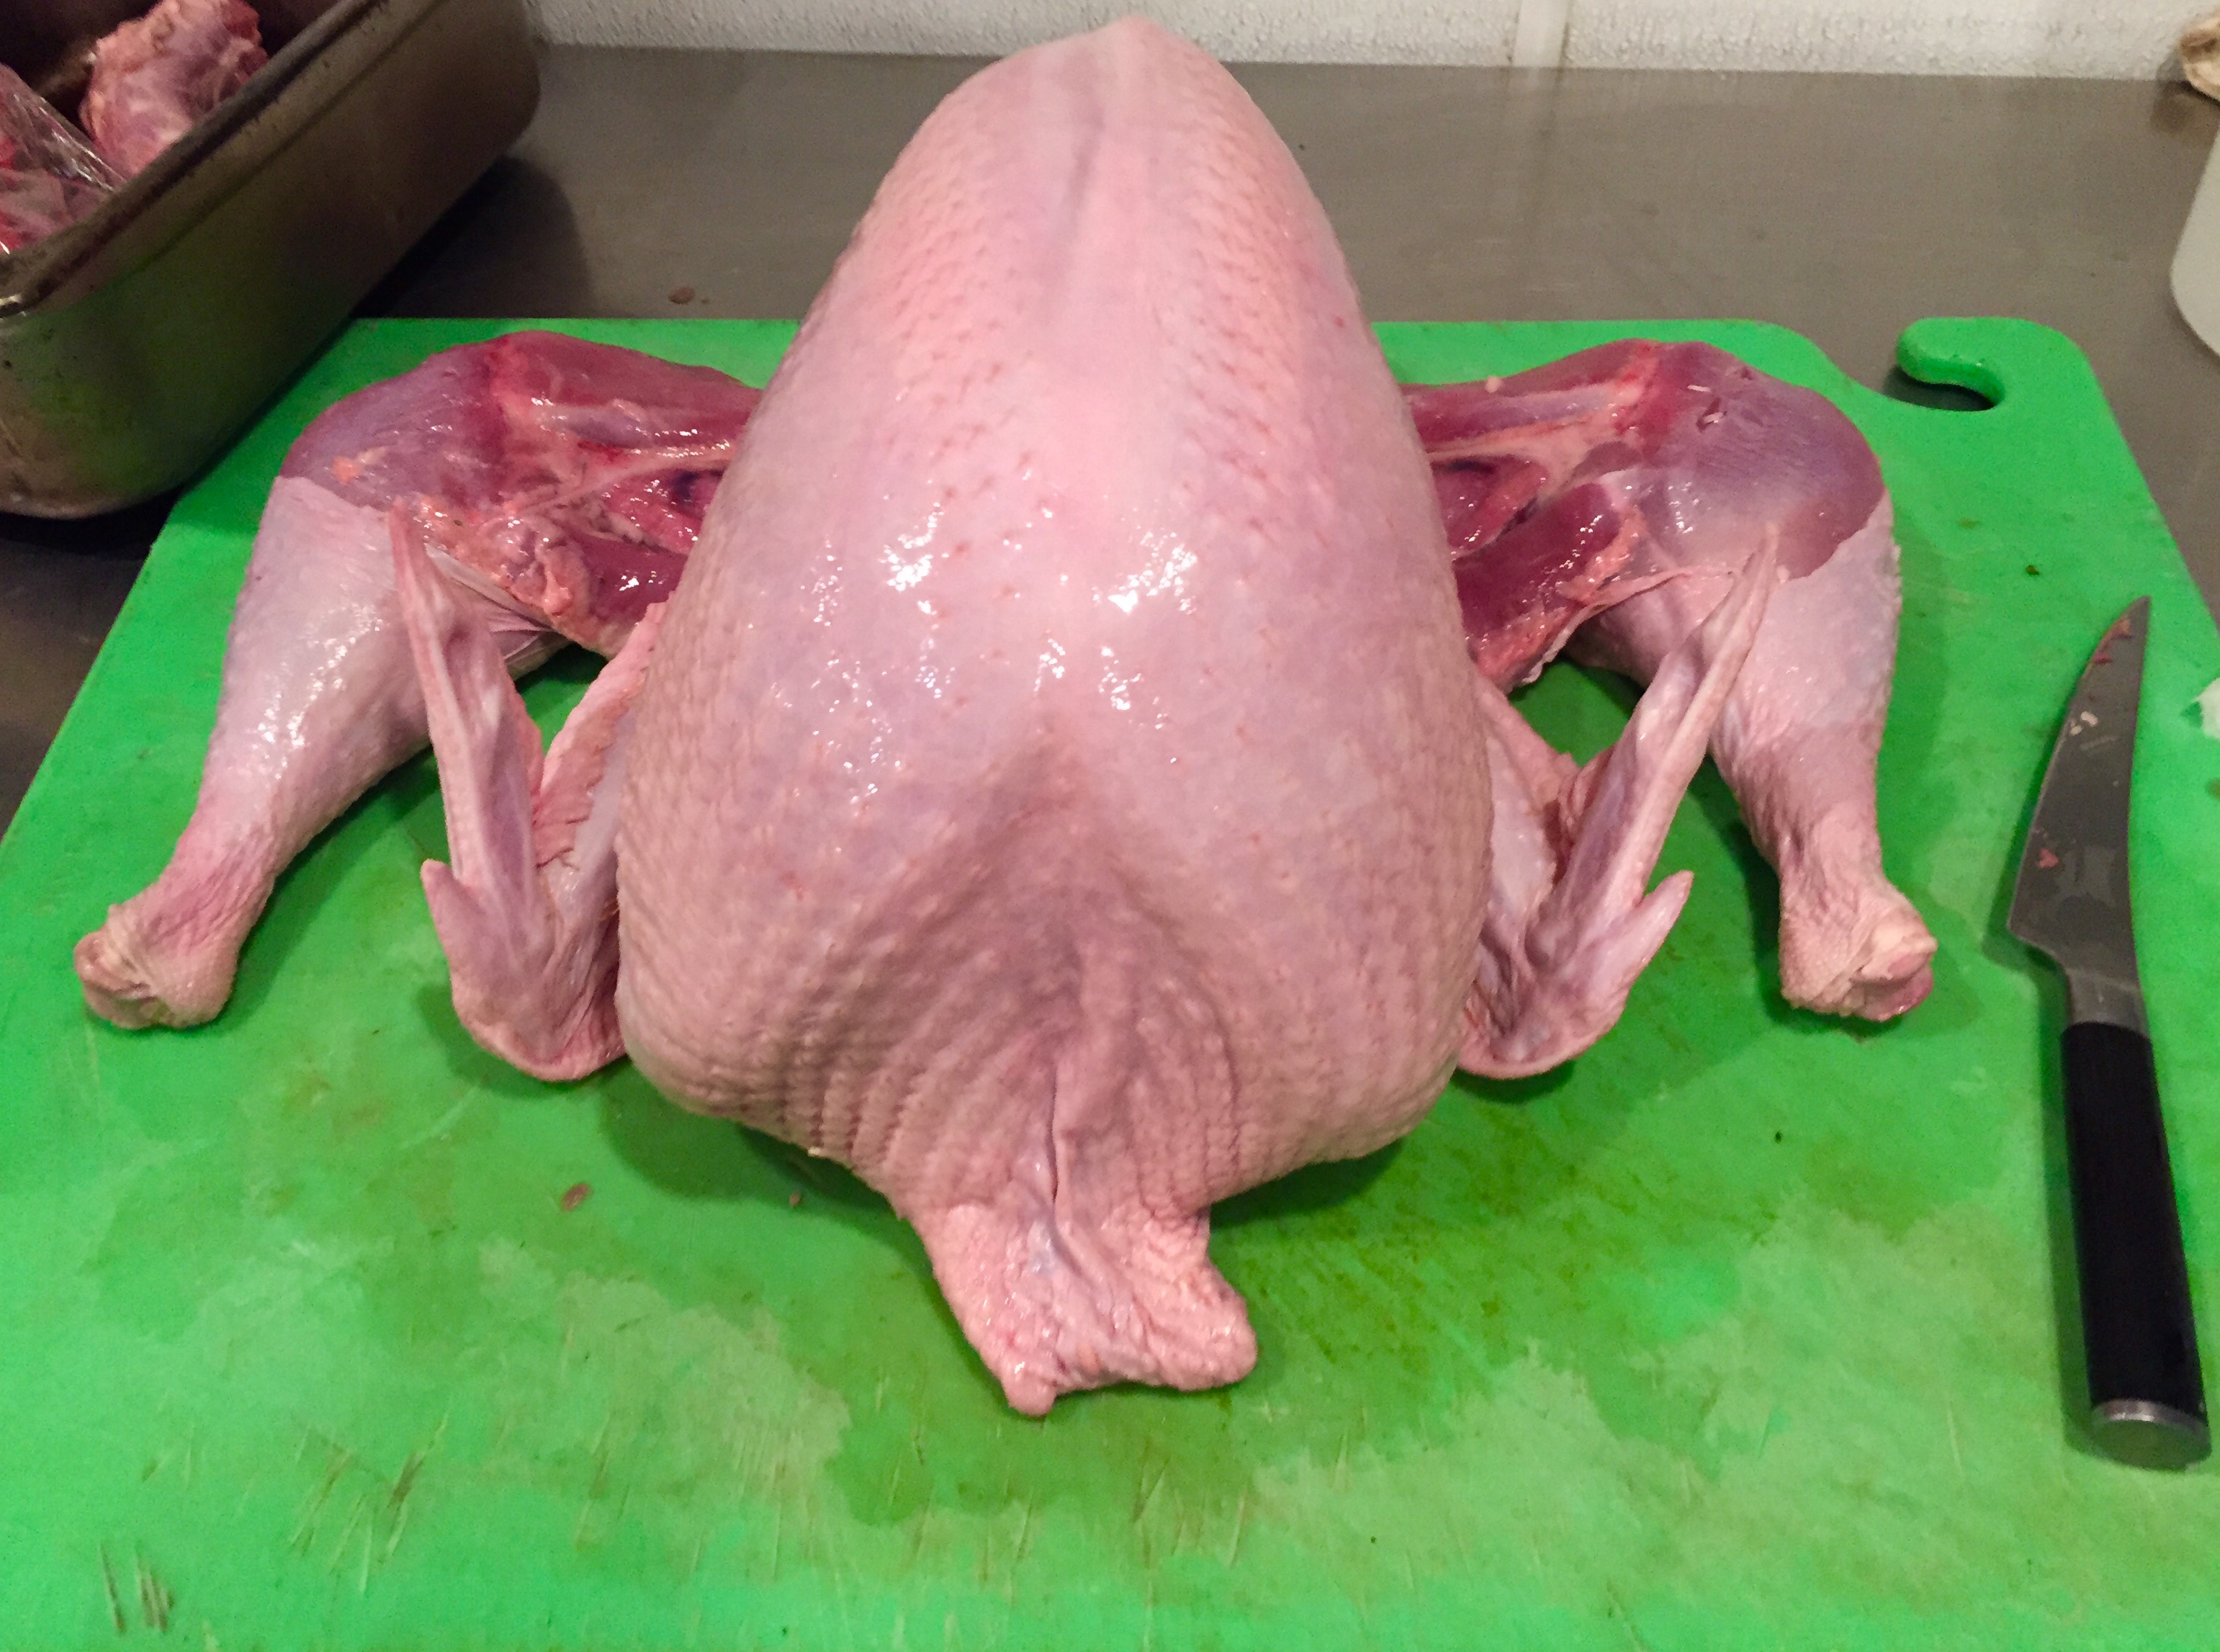
1) Squab is a gamey bird that tastes much better after some dry aging.  Crown  the squabs (remove the legs and wings), and place on a cooling rack over a baking sheet that is covered in a generous amount of salt, and place in your fridge.  The salt in the baking sheet will prevent the bird from stinking the place up, and cooling rack will prevent the bird from touching the salt and allow for air circulation around the entire bird.

1 day in advance of serving

2) Confit the squab legs in duck fat (or any kind of fat, I just happened to have duck).  Make sure the legs are completely submerged in an oven safe container with herbs (thyme and whatever else is lying around) and a few cloves of garlic.  Cook at 250 degrees for 2.5-3 hours.  Remove and place in fridge with duck fat.  Save duck fat for later use (see step 5).

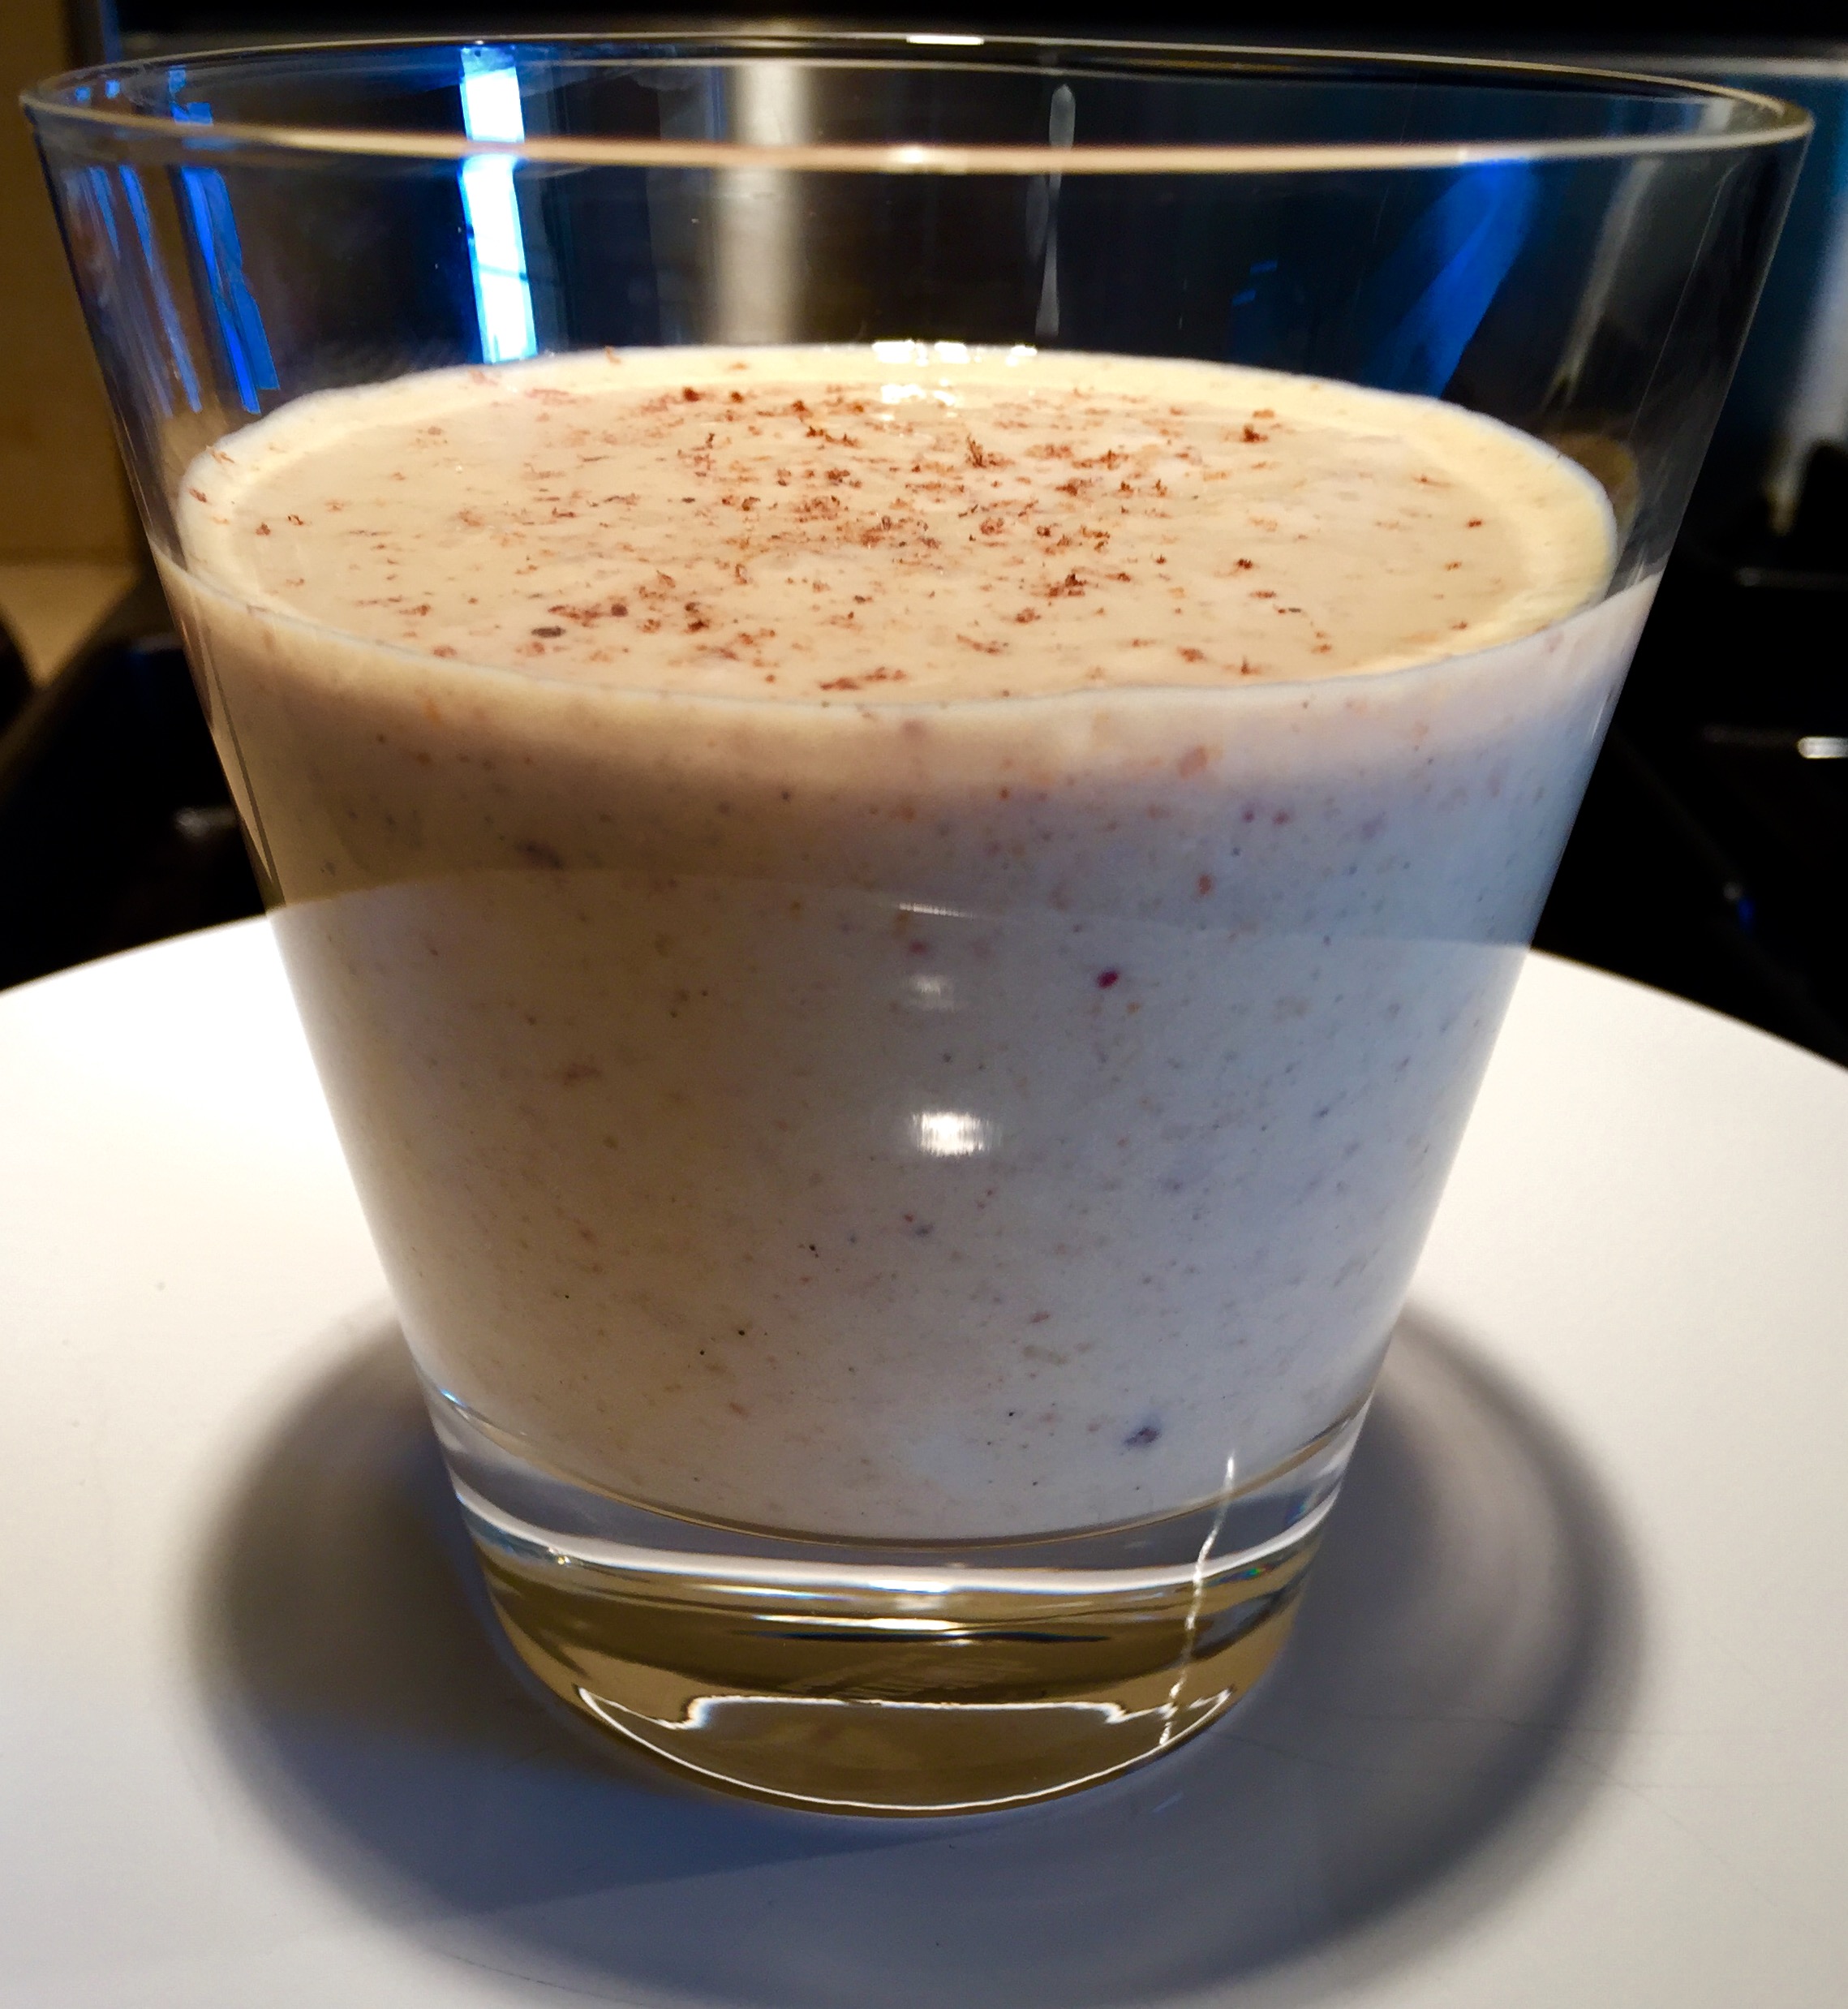
3) Bring milk, almonds and licorice to an aggressive simmer, and bring back to room temperature.  Place in refrigerator overnight to soak.

Day of serving

4) Bring salted water to a boil.  Add parsley and dill with stems removed to boiling water for 45 seconds.  Remove and place in ice bath.  Puree herbs with lemon juice and add water until the puree is smooth.  Remove from blender and strain through a fine medal strainer.  Save puree/liquid to add to cooked faro.

5) Remove licorice root from milk, and puree for 3 minutes in blender.  Once smooth, strain through fine medal strainer removing as much solid as possible.

6) Sautee 1 cup of onion and 1 large clove of garlic in canola oil.  Add faro and toast lightly.  Gradually ladle a quarter cup of chicken stock (I recommend bringing chicken stock to boil in a separate pot) into faro at a time.  Stir constantly and continue to ladle in chicken stock as the pan gets dry.  Cook until faro is tender and creamy.  Add 2-3 tbsp of duck fat to bring more richness, add herb puree, and season with salt and pepper.

7) Cut the breasts from the dry aged squab and season with salt.  Place individual breasts into vacuum bag with a small portion of butter and a few thyme leaves.  Submerge in 57 degree sous vide for 35 minutes.

8) Place fat (canola oil, duck fat, lard, etc) into cast iron and bring to high heat.  Once the oil is shimmering, place in confit legs.  After three minutes, add squab breasts skins side down.  Once all are golden and crispy remove.

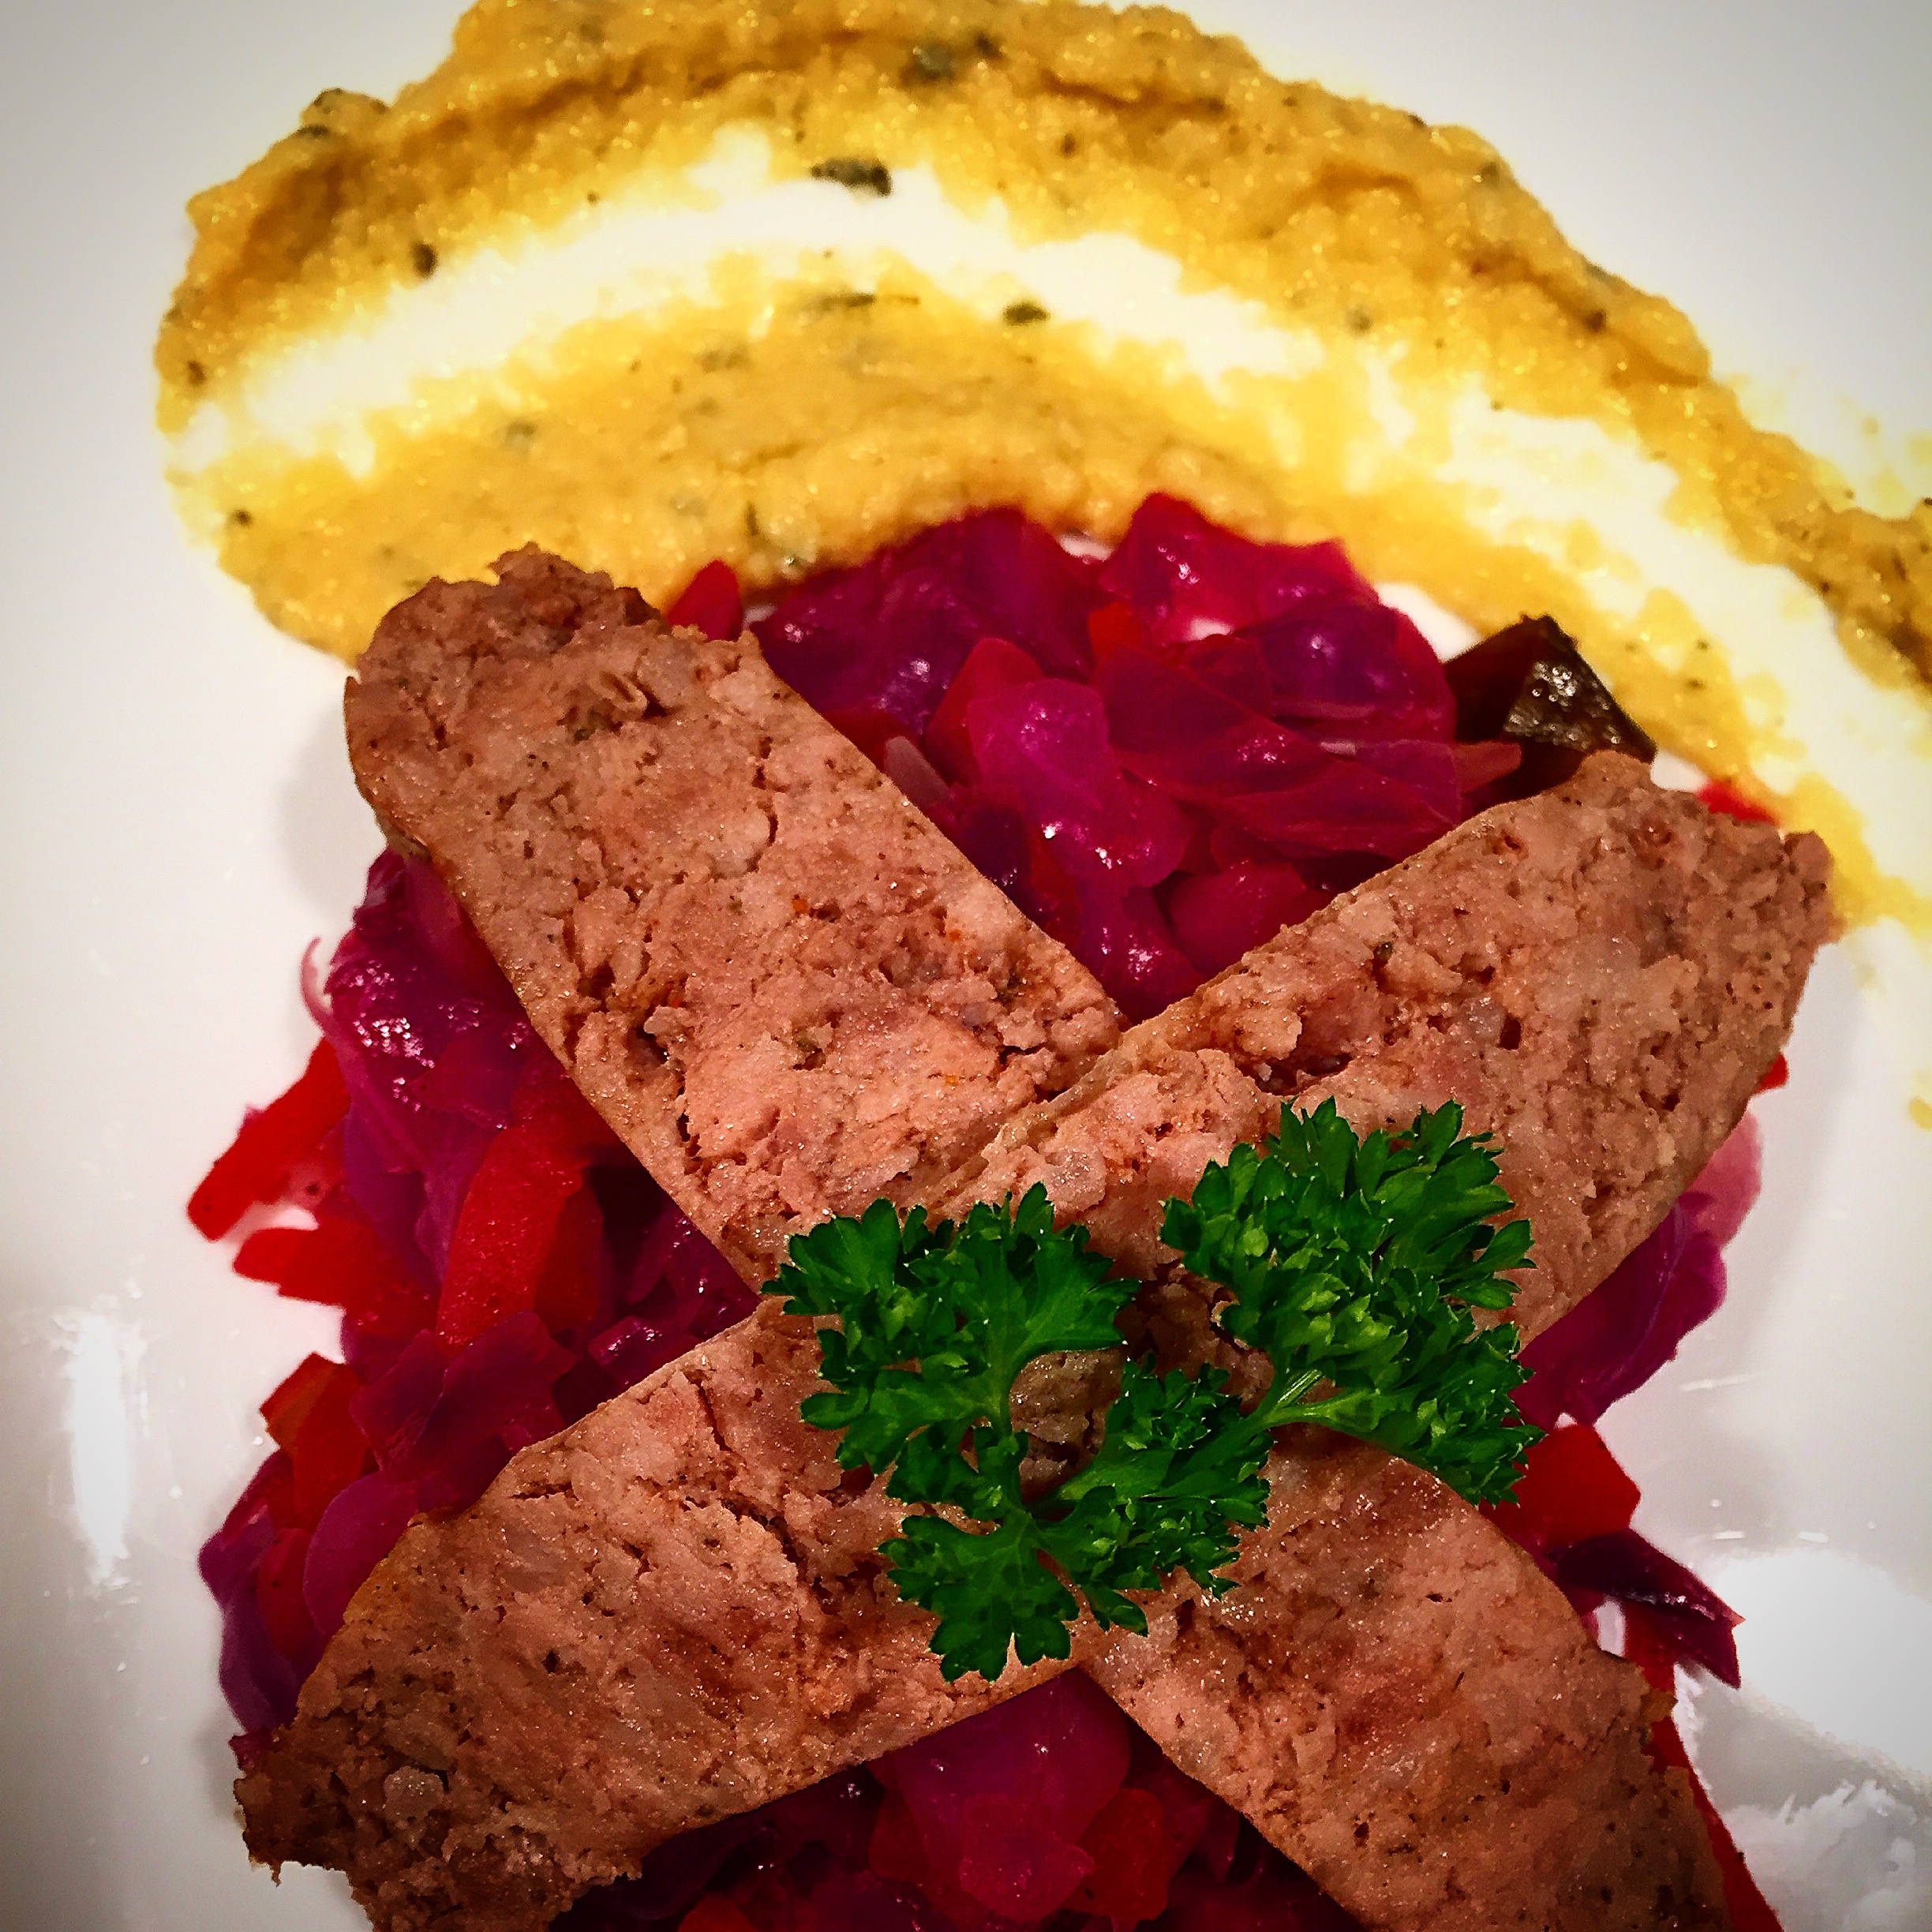
9) Plate and enjoy.  Throw some micro greens on if you have them… I had sunflower shoots.

Miso Ramen

Miso Final

It’s cold!  I get it, I’m not from Fargo, North Dakota (ya know?) and a daily temperature range of 32-42 isn’t terrible… but the barometer of a San Diego native is Rainbows (warm) or no Rainbows (frickin’ freezing).

So how does one keep warm when 42 degrees feels like minus 60?  Eat some soup!  I’m definitely preferential to soup in the winter, and rarely eat it outside of the season… but when winter is coming (yes, I am using a GOT referent in a cooking blog), I eagerly anticipate months filled with soups on soups on soups.

One of my favorite soups is miso ramen.  It is delicious, super easy to make, and cheap!  I like both red and white misos, but I find that white misos are easier to find.  You can put an array of additions to your bowl of awesome, but below you will see a picture of everything I like.  I recommend going to an asian market, although many of these items can be found at Whole Foods.  For those that live in Washington DC, there is a great Asian market on 17th and U that I go to.  It has some awesome stuff!  If you want some homemade ramen noodles, check out the Japanese pop-up at Union Market.

Ingredients 1

Ingredients (per bowl)

2 cups water
2 tbsp fresh white miso
1 tbsp dashi
1 packet of noodles (you can use soba noodles or thinner pho like noodles)
1 egg
1 cup maitake mushrooms
2 tbsp minced fresh garlic
1/2-1 tbsp chili and dried ginger in chili oil
1/2 cup green onions
1/2 cup firm tofu
1/4 cup tried seaweed

You will need two medium pots and a saute pan. 

Ingredients 2

Preparation

1) Bring one medium pot filled 3/4 of the way with water to a boil.  This will be used for the soft-boiled eggs, noodles and dried seaweed.

2) In the other pot, add as much water as you want broth (typically 203 cups a serving).  Then add the appropriate amount of miso (you can always add more).  It is important you add your miso through a medal strainer.  There are solid particles that you will not want in your broth, and this will prevent them from getting in there.  Add the dashi and chili/ginger in chili oil.  You can add more or less of ingredients based of what taste you prefer.  Miso

3) Once the first pot of water comes to a boil, reduce to an intense simmer and gently place in eggs.  Keep in water for 6 minutes, and remove with slotted spoon and place in ice bath (this prevents the egg from cooking more).

4) Sautee mushrooms and ginger in a hot pan with a little oil.  Cook for 3-5 minutes, and empty pan into miso broth.  Add tofu as well.

5) Once the eggs are done, bring the water back to a boil and add noodles.  Cook until they rise to the top, and taste for flavor.  If they are done, remove with tongs (do not pour out water).  Place the noodles in serving dishes.

6) Place the dried seaweed in boiling water, and re-hydrate seaweed.  It is important you re-hydrate in water and not in miso broth.  The seaweed is dried out with salt, and putting it directly into the miso broth will make the soup far too salty.  Once the seaweed is re-hydrated (it will look like the seaweed in your miso soup at Japanese restaurants), strain water and rinse with medal strainer, and add to soup.

7) Pour soup into serving dishes over noodles.  Add green onions, halved soft-boiled eggs, nori, and whatever else you want to add that is lying around (I had some leftover pork belly).

8) Enjoy!

Thanksgiving Leftovers – Take 3

PPieshake3

For those that know me and my eating habits, you should know of my hulk like sweet tooth.  Yes, I am well aware that this is easily my most unhealthy blog post, and yes, I realize how many calories are in this.  But do you realize how f***** delicious this is?

To give a small background… my good friend Julian, who shares a similar sweet tooth to mine, used to like to walk by Good Stuff Eatery on Capitol Hill and poke his head in “Let’s just see what the seasonal shake is today,” he would say.  I am pretty sure he had already googled it or saw it on twitter, but nonetheless, I obliged and would poke my head in.  While I have never seen it or tried it, I will never forget when he told me:

“Oh Man!  Spence you gotta try the November milkshake right around Thanksgiving… They take a vanilla shake and drop an entire slice of pumpkin pie into the blender!!  An entire piece Spence!”

I had to pick up my jaw off the ground.  It made so much sense, slurping small bits of crust through your straw filled with a vanilla-pumpkin blended shake.  I had to try.

 PPieShake1

Ingredients

1 slice of pumpkin pie
4-6 oz whole milk
2-3 scoops vanilla ice cream
Fresh Nutmeg

Preparation 

1) Combine all ingredients except for nutmeg in blender.

PPieShake2

2) Blend until you find the right consistancy.  You may need to add more ice cream to thicken, or more milk to liquidize.

3) Grade fresh nutmeg on top of poured glass, it does not take much.

4) Enjoy

IMG_0064

There is a reason I used to fit in the suit pictured above.  I love milkshakes!  Enjoy a taste, but don’t have too much!

Thanksgiving Leftovers – Take 2 – Turkey Bahn-Mi

BahnMi3

It is Saturday, you have mashed potatoes coming out of your ears and sweet potatoes coming out of your nose.  When you sneeze the reminiscence of cranberry sauce is on your hand, and if you have to eat more stuffing you might throw up.  But there are still plenty of leftovers and you have no idea what to do with them, and you are sick and tired of eating the same leftover sandwich I posted early (I know, you couldn’t resist yourself).

Let me help.

I recently became bahn mi’s biggest fan.  I can’t get enough of it.  I have eaten it so much, I decided it is time to start making my own, and I figured a turkey bahn mi wouldn’t be terrible.  There are so many powerful flavors in bahn mi, from the salty and sweet pickled carrots and diakon, to the cilantro, and finally the creamy and spicy sriracha mayo, you wouldn’t have the slightest idea you were eating Thanksgiving leftovers!

BahnMi1

Ingredients (per/ sandwich)

Leftover turkey meat
1 crispy baguette
2 long cucumber slices
3 jalapeno slices
1/2 cup pickled carrots and daikon
(for the pickling brine, I used 1 cup sugar to about 1.5 cups rice vinegar… I also put in a little ginger and lemongrass)
1/4-1/2 cup cilantro
A generous amount of sriracha mayo (mix to your spiciness liking)

BahnMi2

Preparation

1) Julienne diakon and carrots, and place in simmering brine (1 cup sugar, 1.5 cups rice vinegar).  Cook for about 10-20 minutes, or until vegetables are tender.

2) Combing sriracha and mayonnaise until thoroughly mixed to desired spice.

3) Cut jalapeno and cucumber very thin (I used a mandolin).

4) Toast the baguette, and combine all the ingredients.

5) Grab a napkin and enjoy!!

Thanksgiving Leftovers – Take 1

turkey sandwich 1

I have never met someone who has said “Nah, I don’t like Thanksgiving leftovers.”

I do not want to meet someone that says something of the sort.

Thanksgiving leftovers are frickin’ delicious.  Nothing like letting the flavors really come out over night, just to enhance expectations of your Thanksgiving experience.  For me, I am all about packing everything into one bite for my leftovers.  By combining all of the flavors into one chomp, you are reminded of everything you loved from the day before.

Turkey sand ingredients

Ingredients

1 slice of turkey roulade (or just get a bunch of turkey)
1/2 cup of stuffing
1/2 cup of mashed potatoes
1/4 cup port cranberry sauce
1 tbsp harissa spread
1 leftover Pillsbury biscuit

Preparation

1) Cut one Pillsbury biscuit in half, and toast in a pan over medium heat with a little butter.

2) In microwave safe containers, bring turkey, stuffing and mashed potatoes to desired temperature.

3) Once the biscuit is golden brown, put on harissa, cranberry sauce, and the heated leftovers.

4) Cut in half and enjoy!  It should be delicious!

turkey sandwich 2

Thanksgiving

Feast

Thanksgiving is easily one of my favorite holidays.  The food is hearty and everyone seems to be in a great mood… if not, all it takes is some dark beer, wine, and/or a baileys with coffee. Unfortunately for me, getting home for Thanksgiving is expensive and a hassle.  So what do you do when you miss your family and can’t get home for the holiday?  Bring the flavors of your home to you.

I am not going to go into much detail on Thanksgiving because, to be frank, I am more interested in sharing with you my leftover recipes.  Nonetheless, I will walk through my time leading up to Thanksgiving Thursday.

On Tuesday, I picked up the bird.  Lucky for me, I was able to order a pasture raised, antibiotic-free, organic never frozen turkey through Ripple… the bird’s name was probably Colin.  I decided this year I would try out a turkey-roulade recipe I saw on chefsteps.com (Click here for more).  So after my Tuesday shift at The Rip, I spent some time in the kitchen taking the legs off, de-boning them, and removing the tendons.  After I seasoned the turkey legs, or what was once the legs, throw a little fresh sage in there and roll it up in plastic wrap (see the link above for more visualization and explanation).

Turkey 1

On Wednesday, I prepared my bring to allow enough time for it to return to room temperature.  In my brine I had some lemon, honey, peppercorn, sage, rosemary, thyme and a few bay leaves.  Once I set that aside to cool, I started preparing my stuffing and cranberry sauces.  For the stuffing, I sauteed in butter a lot of celery, mushrooms, and white onions with fresh herbs (sage, thyme, and rosemary that I put through a piston and mortar).  Separately I toast broken up pieces of english muffin, roast and shell chestnuts, and cook off sausage.  It is important you under cook everything because it will cook later on as you roast your turkey (if  you cook your stuffing too much beforehand, everything will be mushy).  It is also important you store the ingredients separately so nothing gets too soggy.  Once the stuffing preparation was complete, I made a port cranberry sauce and a cranberry chutney.  For the sauce, I took one bag of fresh cranberries and boiled it down with sugar, a little salt, port wine, and some fall spices (cinnamon and cloves).  For the chutney, I took one bag of fresh cranberries, the juice of an orange, the zest of half an orange, one pear with the skin off, and a little sugar, and pulsed it all in a food blender until I found the desired consistency.  On top for garnish I sprinkled candied ginger and candied orange rinds.

As for Thursday, things pretty much fell into place.  I woke up at around 8 A.M. to put the Turkey into the brine.  Then I made the sweet potato dish, where I baked sweet potatoes, removed the skins, and mixed with a little seasoning and maple syrup, and topped with toasted pecans.  Then I prepared the stuffing my combining all the ingredients, and stuffing the bird.  The remaining stuffing I put into tinfoil with turkey bones or the turkey neck, and roasted individually.  Turkey 2
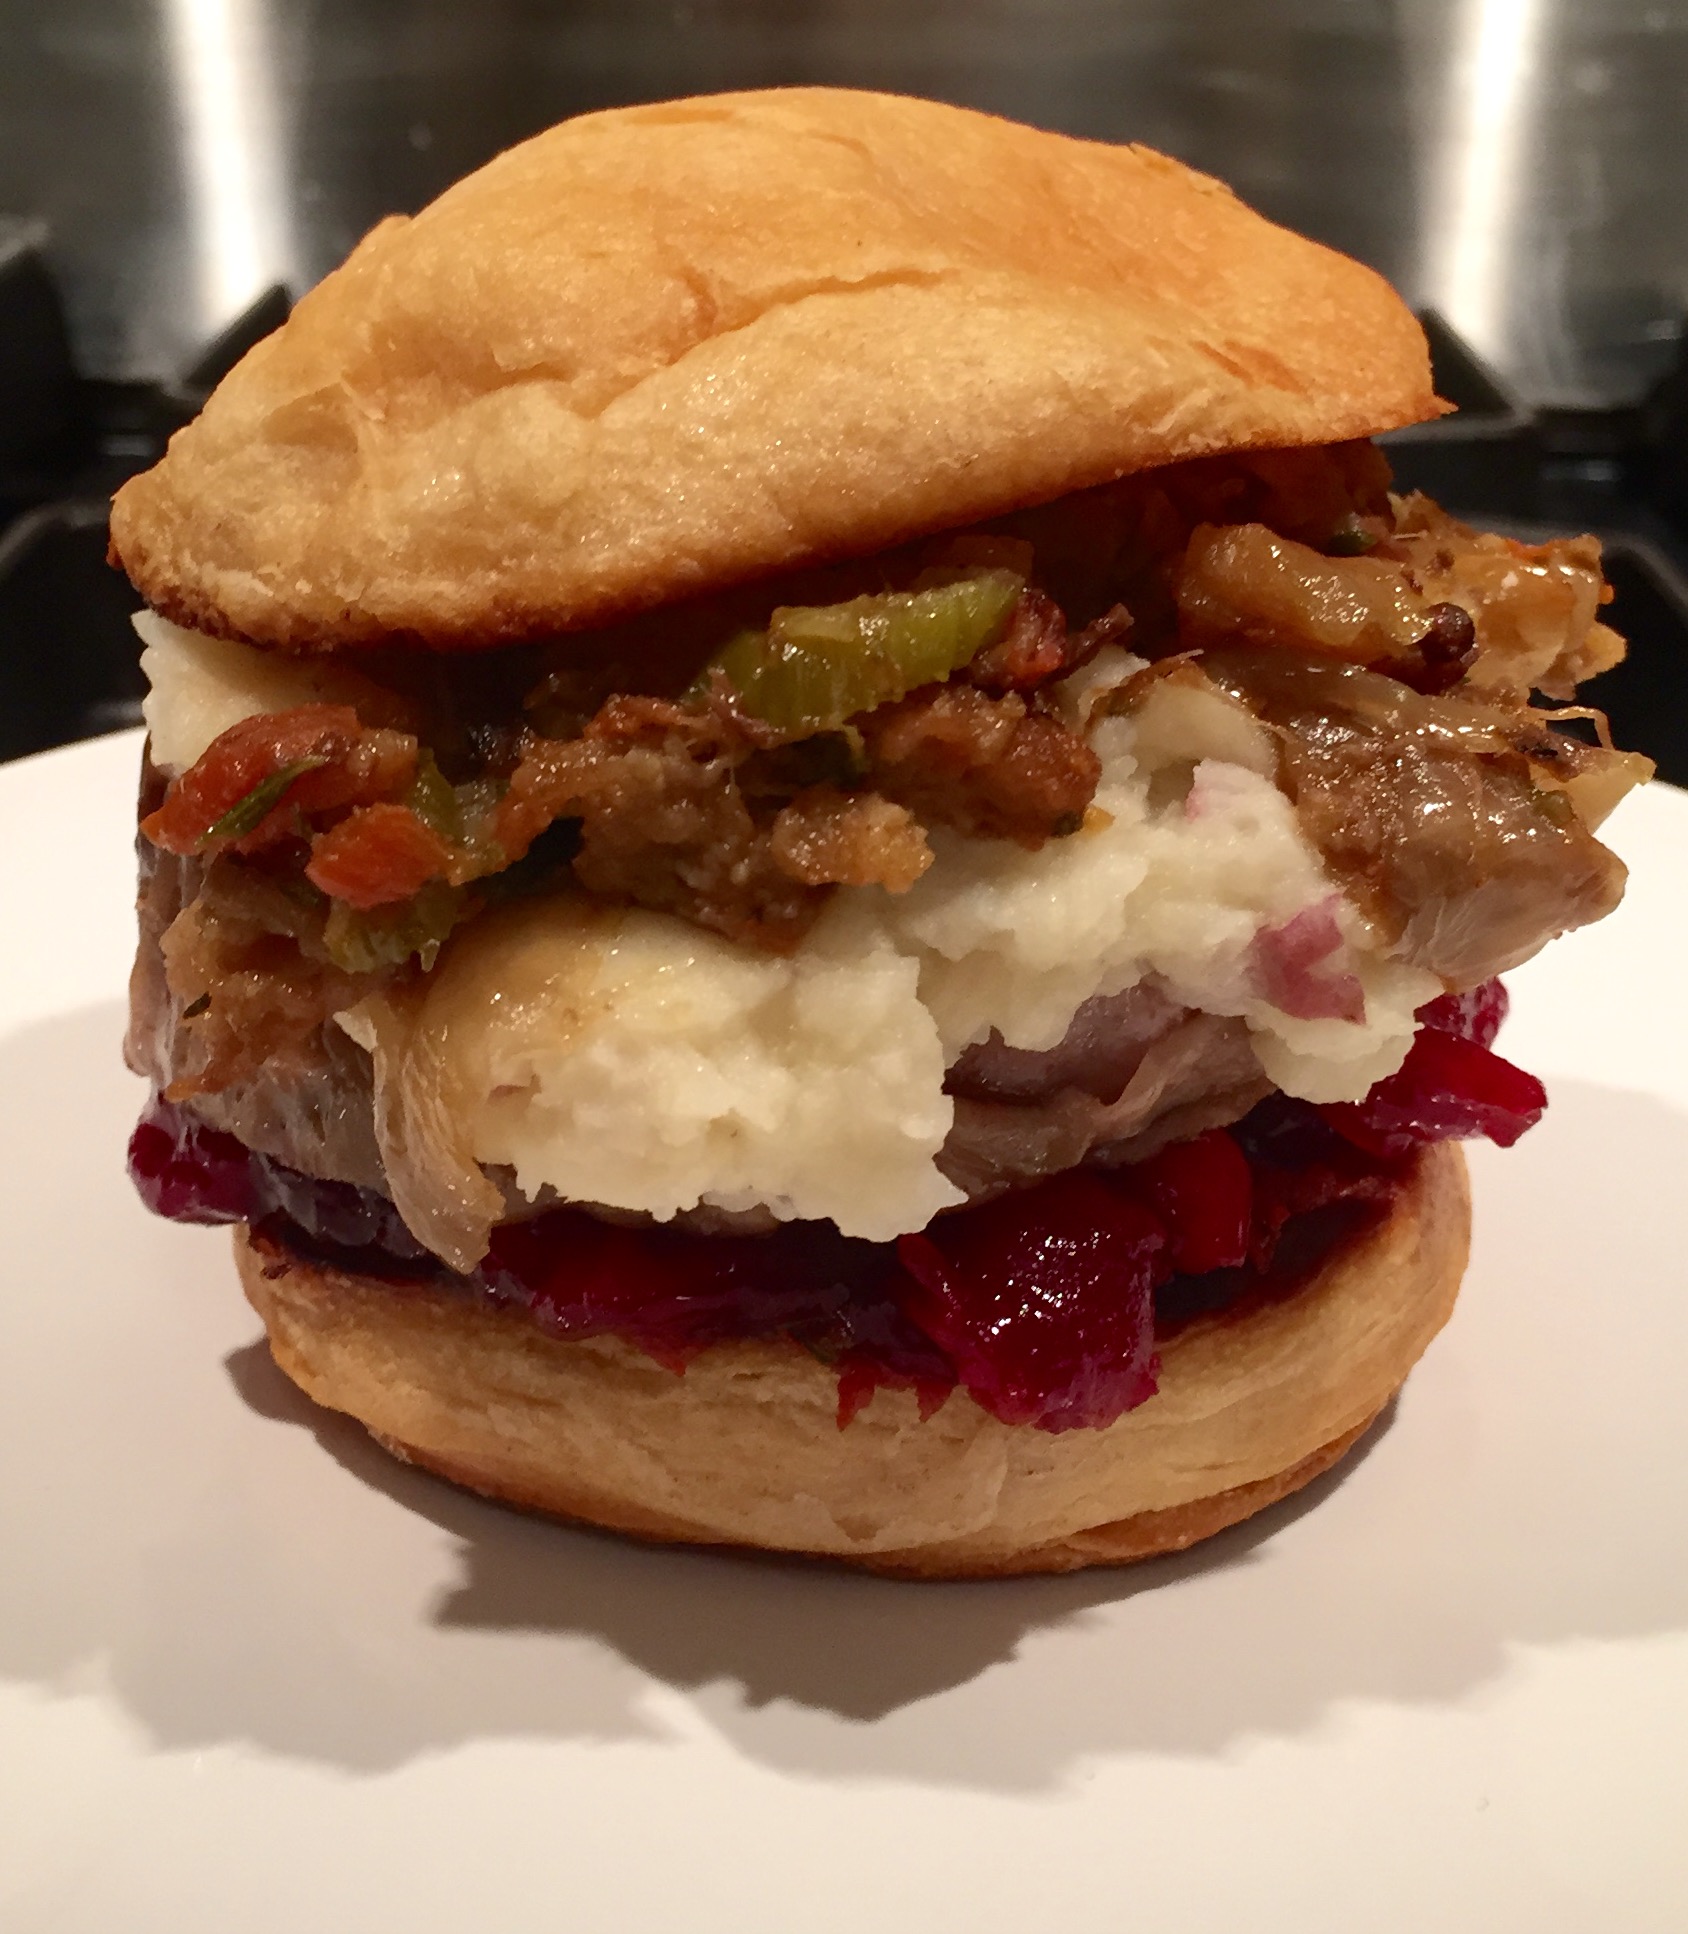
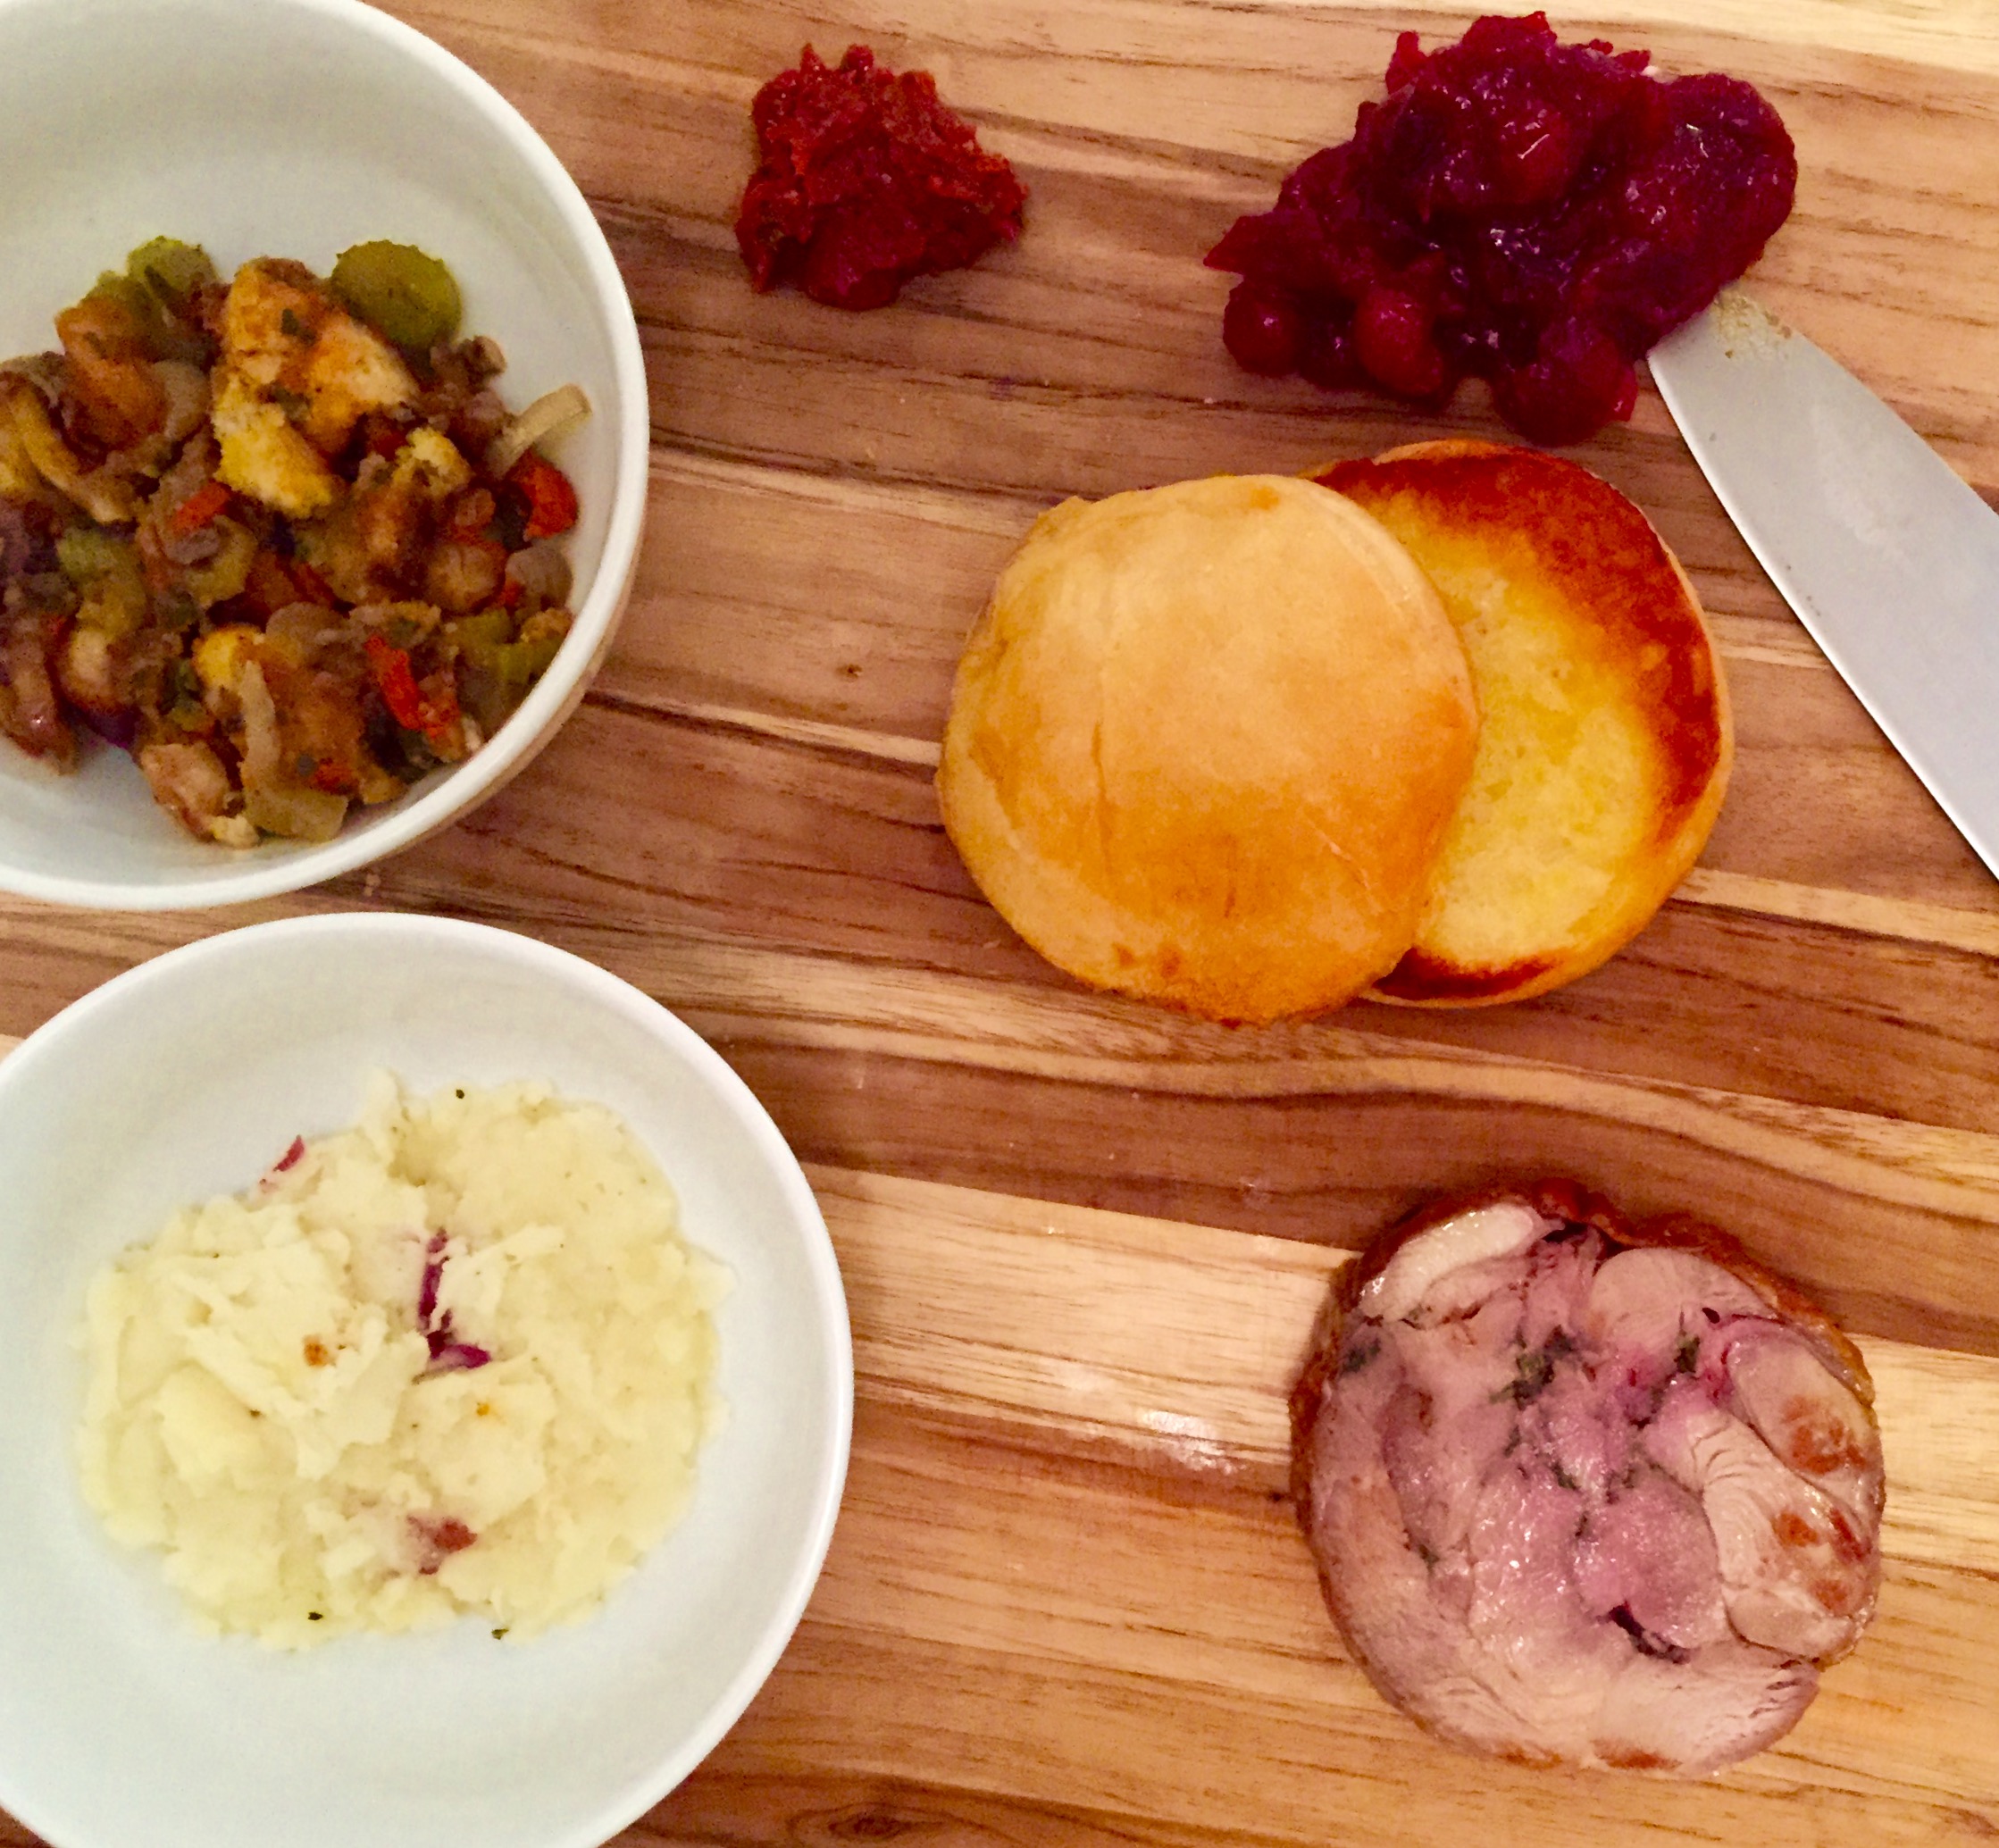
Once the bird was in the oven at 350 and the clock was ticking for 2.5-3 hours, I prepared the garlicky mashed potatoes with plenty of butter and a little cream.  I am lucky to have a heating drawer, so I put my mashed potatoes and sweet potatoes in here to avoid cramping up the oven.

As the time drew closer to take the turkey out of the oven, I put a bunch of Pillsbury biscuits on baking trays and prepared them for the oven.  I also prepared a nice fall salad with walnuts, pears, beets and blue cheese with a simple balsamic vinaigrette.

Once you remove the bird, insert biscuitss that need to heat for 15-2- minutes.  Once the biscuits were done, I put in the roulade at 475 until the skin on the outside was crunchy.  Turkey and rouladeI let that sit for about 5 minutes, then I cut into everything and served.

Roulade

Sous vide lamb with lamb jus, my momma’s mashed taters, and a mint-oil fresh pea mash

IMG_0476

First and foremost, I want to thank all my friends… who constantly nag me and remind me that I haven’t posted in forever.  I get it.  Sorry, I have been out of town a bunch and quite busy. Between weddings in Florida, my five year old cousin’s birthday in New York, and catching up with good friends in Seattle, I haven’t been in D.C. much to hunker down and cook.

Lucky for me, my first weekend in D.C. was filled with food.  Saturday I attended EmporiYUM near Union Market which was filled with great food and running into random friends.  After getting filled on various tastings from the venue, I biked home to start prepping dinner with my cousin Mahlon.  He had seen my blog, and requested a meal worthy of a blog post instead of going out to a restaurant.  I decided to bring in some family classics on to the plate.  Mahlon grew up in Pickford, Michigan with his mother on a sheep farm.  Every summer when my family would head to Sugar Island Michigan for the summer, we would have lamb at some point fresh from the farm.  It was served usually with heaping mounds of my mom’s mashed potatoes and a generous dollop of mint jelly.  Soooo I thought I would do my own twist of a childhood classic.

Ingredients

French rack of lamb (count two bones per individual)
1 bunch of thyme
Lamb jus
Lamb bones (ask the butcher at the counter for these)
1 quart Beef stock
2 celery stocks chopped
1 Onion
3-4 carrots chopped
3 fresh bay leaves
2 sprigs of thyme
4-5 red potatoes
1 bushel parsley
1 bulb of garlic
2 tbsp butter
1/2-1 cup milk or cream
1 pound fresh snap peas
1 bushel mint

1 pint grape seed oil

Preparation 

1) Making mint oil will require preparation at least 24 hours in advance.  Bring a pot of water to boil.  Once boiling, add the mint leaves for 10-20 seconds.  Remove from boiling water and place in an ice bath.  Place mint leaves in food processor, and add grape seed oil until the leaves are completely covered.  Blend for two minutes and remove from processor.  Let sit refrigerated overnight.  The next morning, run the oil through a cheese cloth to separate all the solids.  This can take a long time, so provide ample time for the oil to drain out.

2) For the pea mash, you will want to bring a pot of water to a boil.  Add the peas for about a minute, remove and put peas into a ice bath.  Shuck the peas from the pods, and place the peas into a food processor.  Add about 4-5 tablespoons of the mint oil, fresh cracked pepper and salt, and puree/mash it.

3) I have never made jus before, but its frickin delicious!  In a pot, add the lamb bones, celery, carrots, onion, bay leaves and thyme sprigs, cover with beef stock, and bring that sucker to a boil!  Reduce heat slightly and allow the liquid to reduce down about 85%.  Strain the liquid out into a container and you will have this super rich and awesome broth to pour onto your meat later.

4) Bring a pot of water to a boil, and boil potatoes until tender in the center.  Meanwhile, cut the top of the bulb of garlic, pour a little bit of olive oil on top, add a sprig of thyme, and wrap in tinfoil.  Roast in oven at 350-400 for 30 minutes.   Once the potatoes are completely cooked, strain the water and mash the potatoes.  Add butter, milk, chopped parsley, and roasted garlic.  Make sure to add plenty of salt and pepper for flavor, and mash until you get your desired consistency.  I get that keeping skins on potatoes is super contentious, but that’s how my momma makes them so back off!

5) You can do your lamb in several different ways.  First, you should divide the rack of lamb into portions.  I do two chops per portion.  You can grill, roast, or in my case use a sous vide (my newest most favoritest toy ever).  I went ahead and brought my stove top grill to a very high heat and seared the lamb on all sides.  Once you get a nice sear, remove from heat and place into a Ziploc bag with a small dollop of butter and sprig of thyme per portion.  To use a sous vide, you are supposed to use a vacuum bag… but not all of us have vacuum bags do we?  So I left a very small break in the seal and inhaled air from the bag, and quickly closed the Ziploc before the air can get back in.  Submerge the lamb in the Ziploc into the water bath set at 55 degrees Celsius for an hour.  Remove the lamb from the water bath, and baste the meat in a hot pan with brown butter and coloring.  Let the protein sit for a minute or two and cut down the center.

6)Plate your dish, and cover the protein with lamb jus, and enjoy!

IPA Steamed Red Cabbage and Fujis with IPA Boiled Brats, and a Fuji-Sage Dijon

IMG_0156

Ahhhh Fall!  The sound of wind through crisp autumnal leaves, hot totties, ghords, squash, pumpkins, and motha f****** apple picking!  If you live even remotely close to an apple orchard, which you should if you live in America, go there right now and pick some motha f****** apples!  Have you ever picked an apple, rubbed the dirt off on your shoulder, and eaten it straight from the tree?  If you haven’t let me tell you… its f****** awesome and f****** delicious!! And its cliche… but cliche in a fashion that allows hipsters to partake in the fun festivities as well.

I know, I know. Apple picking is complex, and can be stressful if not done properly.  Allow me to provide you a brief tutorial:

Step 1: Upon arriving at the orchard or farm, walk directly to the Fuji apple section.  To be frank, Fuji apples are the best and I am not sure why anyone would eat anything else… just ask Colleen and Zoe, I’m kind of obsessed.

Step 2: Inspect the Apples

IMG_0139

Step 3: Continue to inspect the apple from different vantage points.

IMG_0135

Step 4: If the apple has no apparent worm holes, no lesions, and looks all around good… place it in the bin.

IMG_0132

Step 5: There are only four steps.

Alright, enough funny business.. it is time to cook!  After picking my apples at Homestead Farm in Poolesville, MD, I moseyed over to the pseudo farmers market and got some other goodies.  I saw a beautiful red cabbage and immediately decided to steam cabbage with apples, and go with bratwurst for the protein.  It would need a condiment, so mustard was rather obvious.  And a nice IPA is always nice in the fall, so lets put as much IPA into this as possible.

IMG_0141

Ingredients

1 head of red cabbage
3 shallots
6 fuji apples, skins removed
1-2 tbsp dijon
6-10 sage leaves
1 IPA for steaming
1-2 tbsp apple-cider vinegar
Bratwurst
Enough IPA to cover the bratwurst

Preparation

1) Remove the skins from three fuji apples, remove the core and cut into small pieces. Cook down in a few tbsp of butter and sage.  Once the apples are tender to the center, remove from heat and put into food processor with sage.  Puree until mixed through.  Place mixture into strainer, and push mixture through strainer (This can be labor intensive, and take a few minutes but it is worth it.  This keeps the mixture smooth and without chunks).  Mix in dijon gradually until you get the flavor you want.

2) Cut red cabbage into small pieces.  Remove skin of three remaining fuji apples, remove core and cut into small pieces. Cut shallots into thing but long pieces. Steam mixture with one beer and a splash of apple-cider vinegar. Add salt and seasoning for flavor.  Steaming should take more then ten minutes, and cabbage should be tender but not mushy.

3) Bring remaining IPA to boil.  Put bratwurst into boiling IPA, and cook for 10 minutes.  Remove from IPA.  If you have a grill, throw it on there for additional texture and flavor.

4) Plate it and enjoy!!

Hummus

IMG_0085

Lets get something straight… this is not Hummus, this is Hummus (sounds like chu-moose).

Next thing we want to remember… Read and Follow the directions!  I learned the hard way.  Let me explain…

I love hummus.  Always have, always will.  The hummus in the United States is much different than the hummus you get in Israel.  I have attempted several times to replicate the amazingness that is Israeli hummus, and have come fairly close… but it is never quite as rich, creamy, fluffy, and amazing.  I asked friends, read some recipes, and finally decided it was time to peel the skins from each garbanzo bean, which would reduce the mealy texture of most American hummus (I almost think the plural form of hummus should be hummuses).

After googling some recipes to see if I could find some technique tips, I decided to pick a fairly average recipe and just go with it.  I soaked the dried garbanzos for 24 hours, ignored the baking soda step (why would I need baking soda?), boiled the garbanzos and started peeling.  Well, the peeling wasn’t as easy as I had thought.  I imagine shucking peas from a pod, but this was taking way too much time.  I put the garbanzo beans in a microwave safe bowl, splashed them in water, and zapped them in the microwave for 60 seconds.  Things got a little easier, but it was still a labor intensive project.  Nonetheless, I turned on the tube to catch up on Boardwalk Empire, and take the skins off some garbanzo beans.  Before I knew it, three hours had passed and it was thirty minutes passed midnight.  I finally finished removing the skins from each individual garbanzo bean, added some tahini, lemon juice, zataar and salt, and BOOM!  I had done it, and boy was it worth the work!

I went straight to bed feeling the satisfaction of eating great hummus, just like I had just returned from Shuk HaCarmel in Tel Aviv for 13 shek hummus.  The next day I brought in the hummus for lunch, and it was practically coming out of my ears by the afternoon.  It was good, but I was still perplexed on the time.  So I went back to google, and put in a different entry this time: “easy ways to peel garbanzo beans”.  I clicked enter, and there it was glaring at me… “baking soda”.  My jaw dropped to the floor!  I should have followed directions!  I clicked on a youtube video (what is even more embarrassing is I own the cookbook referenced in the video) that had popped up, and quickly learned about how the baking soda forms an alkaline solution with the pectin in the bean’s skin and blah blah blah.  I was dumbfounded!  Needless to say, I learned my lesson… stick to the recipe, and don’t wait three hours to google it!

Ingredients

3 cups dry garbanzo beans, soaked overnight fully submerged in water
1/2-1 tsp baking soda
1/2 cup extra-virgin olive oil
3/4 cup tahini
2-3 lemons
1 large clove garlic
1 tsp cumin
2 tsp zataar

Garnish
Garbanzo beans, olive oil, tahini, zataar, pickles, onions and hard boiled egg

Preparation

1) Rinse the garbanzo beans and place in a pot.  Fill with enough water to cover at least 1 inch.  Add baking soda.  Bring to a boil and then simmer over medium hear until the beans are very soft, 1-2 hours.

2) Drain the beans from hot water, and place in cold water bath.  Agitate the beans rigorously, and replace water to maintain a colder temperature.  The skins will gradually fall off, and they should separate easily.  If not, manually remove skins.

3) Put the beans into a food processor, saving some whole beans for garnish.  Add the remaining ingredients, and blend until smooth.  Add more olive oil or water to make thinner, add more tahini to make richer, and season to taste.

4) Put hummus in a bowl, and garnish with desired ingredients.

5) Serve with warm/toasted pita, and/or julienne vegetables.

5) Enjoy!

—–

P.S. Sorry for not posting in a while!  I have been rather busy, doing some traveling, and have not had much time to cook.

P.P.S.  On that note, I will likely be cooking tomorrow (10/8) or Thursday (10/9)… message me if you want to be a guinea pig!  We will have having cracked pepper gnocchi, with a brown-butter sage sauce, with some prosciutto and truffled pecorino!  Space will be limited, so get at me!

Chilean Sea Bass with Heirloom Succotash and Nectarine Puree

photo 2

Chilean Sea Bass with Heirloom Succotash and Nectarine Puree

The swampy thick air of D.C. is starting to subside.  Soon the leaves will change colors, the air will turn crisp and before we know it we’ll be bundled up eating our harvest squashes and wintry soups.  We will trade our shorts for sweaters, and flip flops for wool socks.  We will say goodbye to summer, and welcome the fall.

In a final attempt to harness the easy going summer vibes, I ventured down to the Dupont farmers market to pick up some seasonal flavors before they disappear.  I was drawn, as I always am, to the white nectarines.  They have always been my favorite, over the peaches and over the yellows.  I sampled one… it was delicious.  I then bought some sweetcorn before it goes bland, some dragon beans and a cuccuzza.  To be honest, I had no idea what a cucuzza was!  They had samples out and it tasted like a squash, so I figured why not give it a go.

Now that I had all these great fresh ingredients, I had absolutely zero idea what to do.  A small voice inside me was saying “make a succotash”, and that would make most sense with the ingredients I had.  I wanted some sort of puree to plate with that had its own flavor profile, so I decided I would use the white nectarines for that, add one Serrano chili, and green onions to give it some great color.  All I needed was a protein.  So I jumped on my bike, and headed to Whole Foods.  The Chilean sea bass looked the best, and it also smelt fresh.  I had the fish monger wrap up one piece (that stuff is pricey, so I only bought one piece and made this dish an appetizer).

I was all set!  I headed to the kitchen and started prep.  I put on some tunes, thanks to my buddy Toby’s  music blog Ruckus Rhythms (http://www.ruckusrhythms.com/).  There was one song on their September Playlust that was well suited for the dish and occasion, Goodbye Summer by Misun. https://soundcloud.com/misun/misun-goodbye-summer Give it a listen!

Ingredients

2 white nectarines
2 sprigs of fresh thyme
1 cup green onions
1-2 tbsp unsalted butter
1 Serrano chili
2 cups chopped cucuzza
2 cups fresh corn
1 cup dragon beans
1 cup sweet onion
1 tsp paprika
3 tbsp white wine vinegar
1-4 filets Chilean sea bass
(1 filet for appetizer, 1 filet per person for entree)

photo 1
(
Note: In classic Spencer fashion, I clumsily dropped the edamame on the floor, hence why it is not in the ingredients list.)

Preparation

1) To prepare the puree, saute finely chopped green onions in butter and thyme, and add to food processor (be sure to pick out thyme stems). Char Serrano chili over open flame until the skin is black.  Let cool, and remove the skin and add to food processor.  Remove skin from nectarines, and take out the pit.  Add to food processor, blend, and add salt to flavor.

2) Remove dragon beans from pods, and boil in salted water for 6 minutes.  Remove beans from boiling water and place in ice bath (this will help preserve the colors of the beans, and prevent the beans from cooking further).  Char corn over open flame, and cut kernels from the cob.

3) In a medium oiled sauce pan, saute onions and cuccuzza on medium-high heat.  Cook for 3-5 minutes, and add corn and beans.  Add white wine vinegar and paprika, and reduce heat to medium to medium-low.  Cook for 5ish minutes, and season to flavor.

4) In a room temperature oiled pan, place the fish skin side down.  Place on stove on high heat.  Cook for 4-5 minutes, and try to work spatula under the skin.  Once the skin is fairly crispy, flip for 2-3 minutes.  Remove from heat.

5) Plate and enjoy!